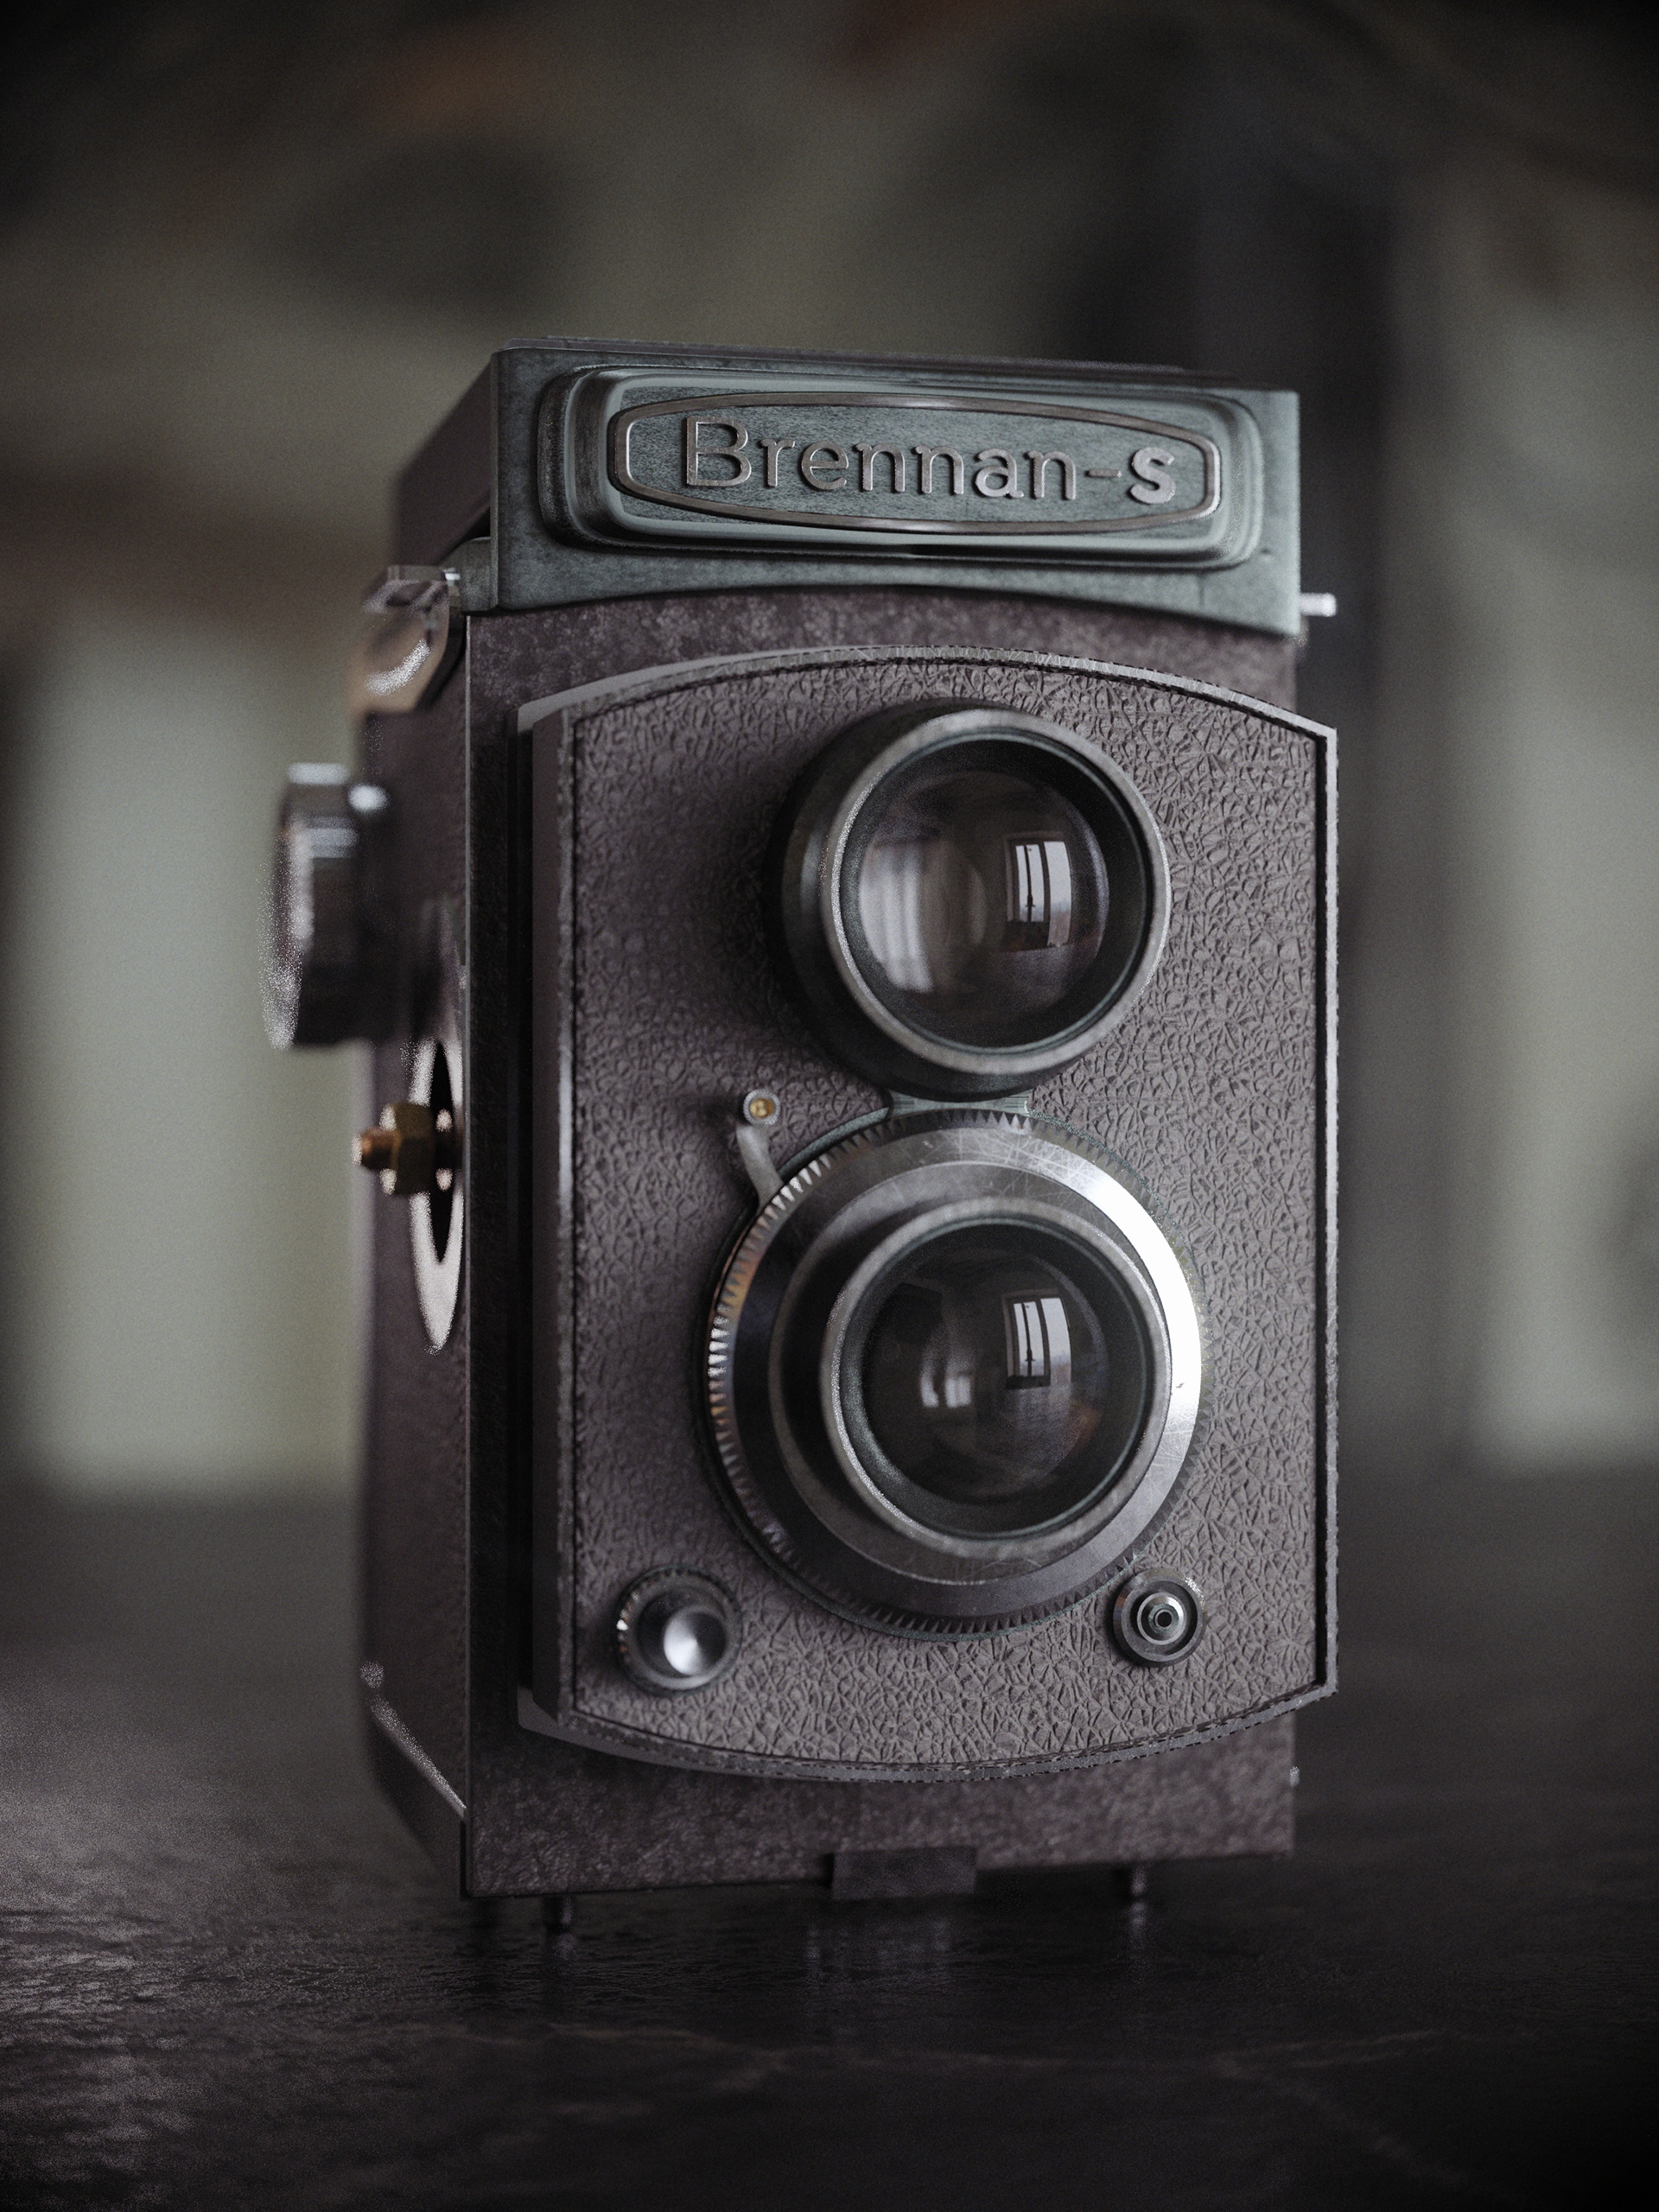
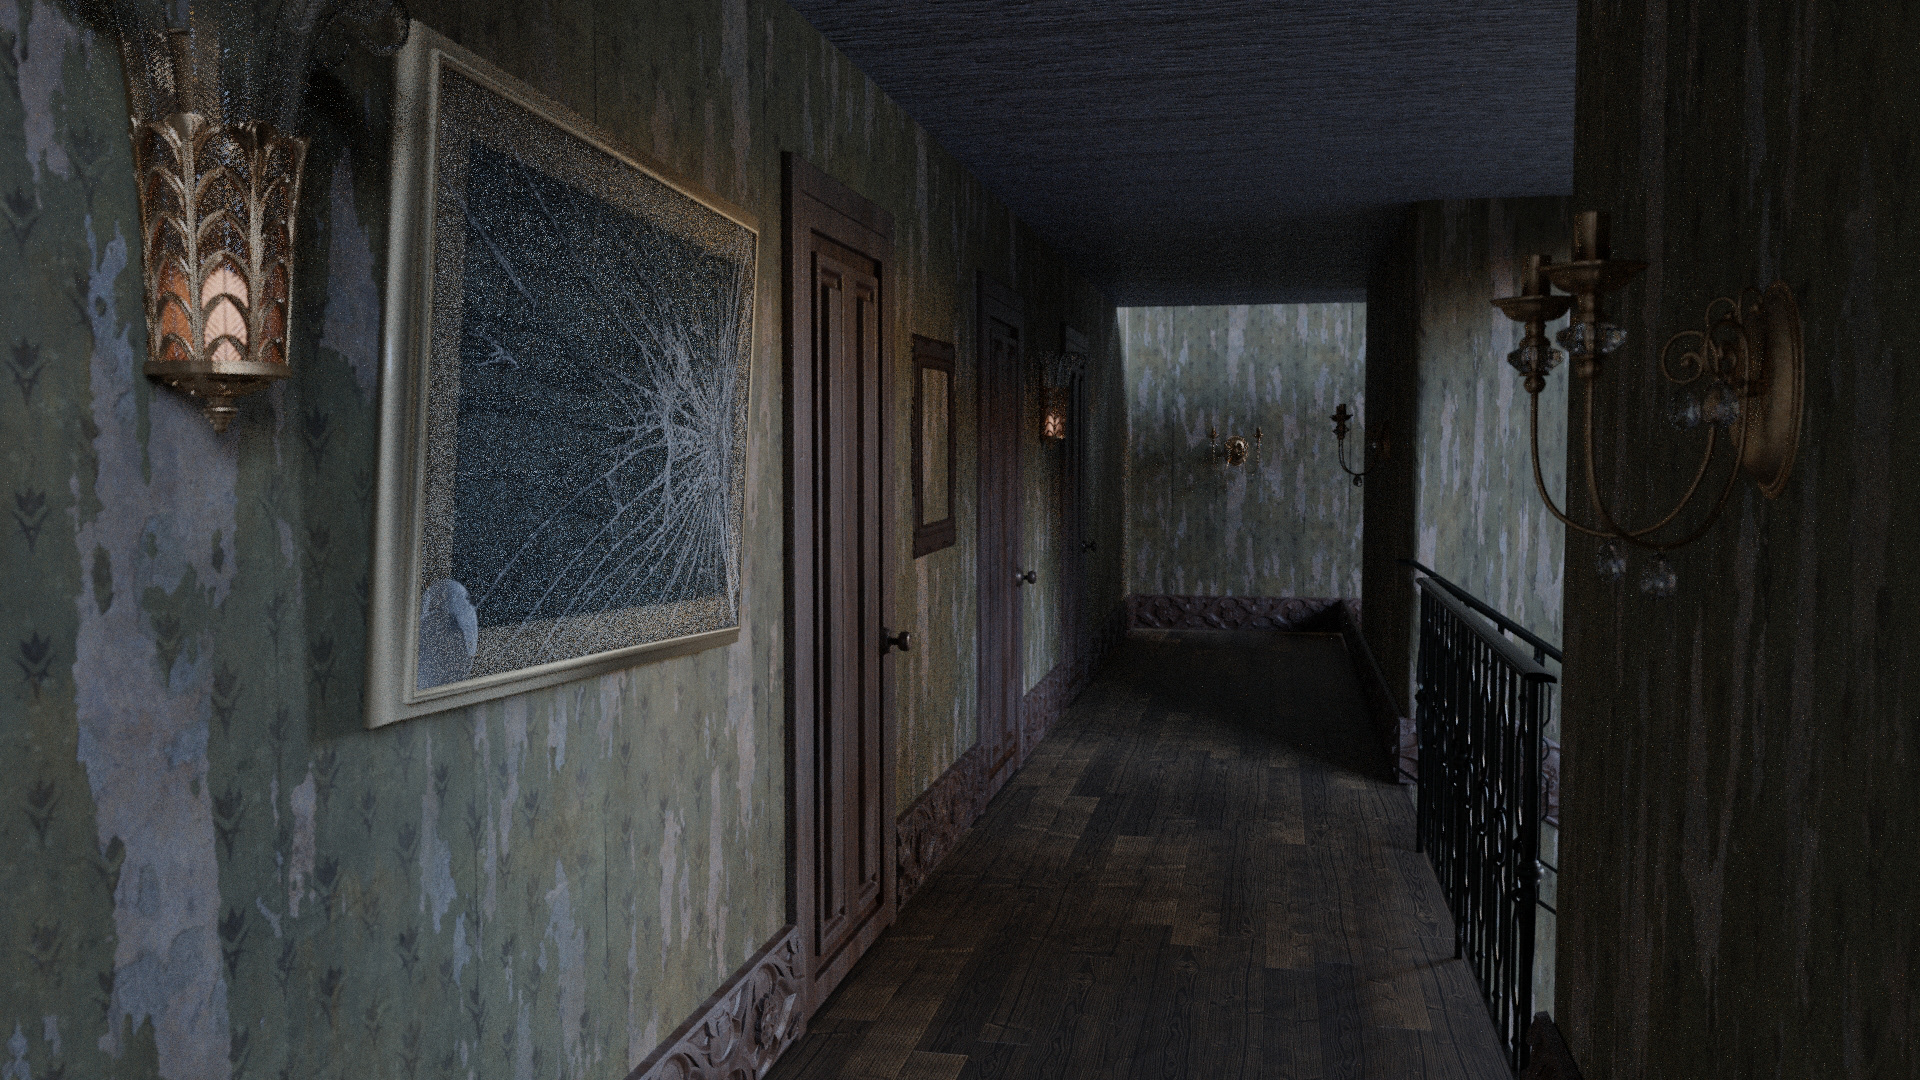
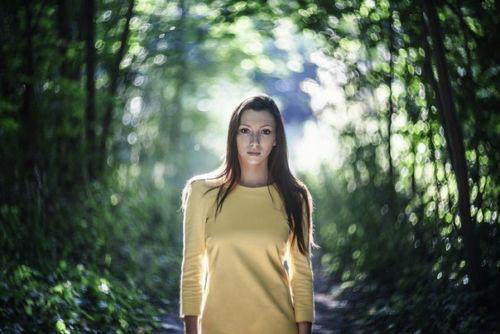
Luxcore has been my favorite render engine for awhile now. Though, I'm sure other spectral render engines are just as fun.
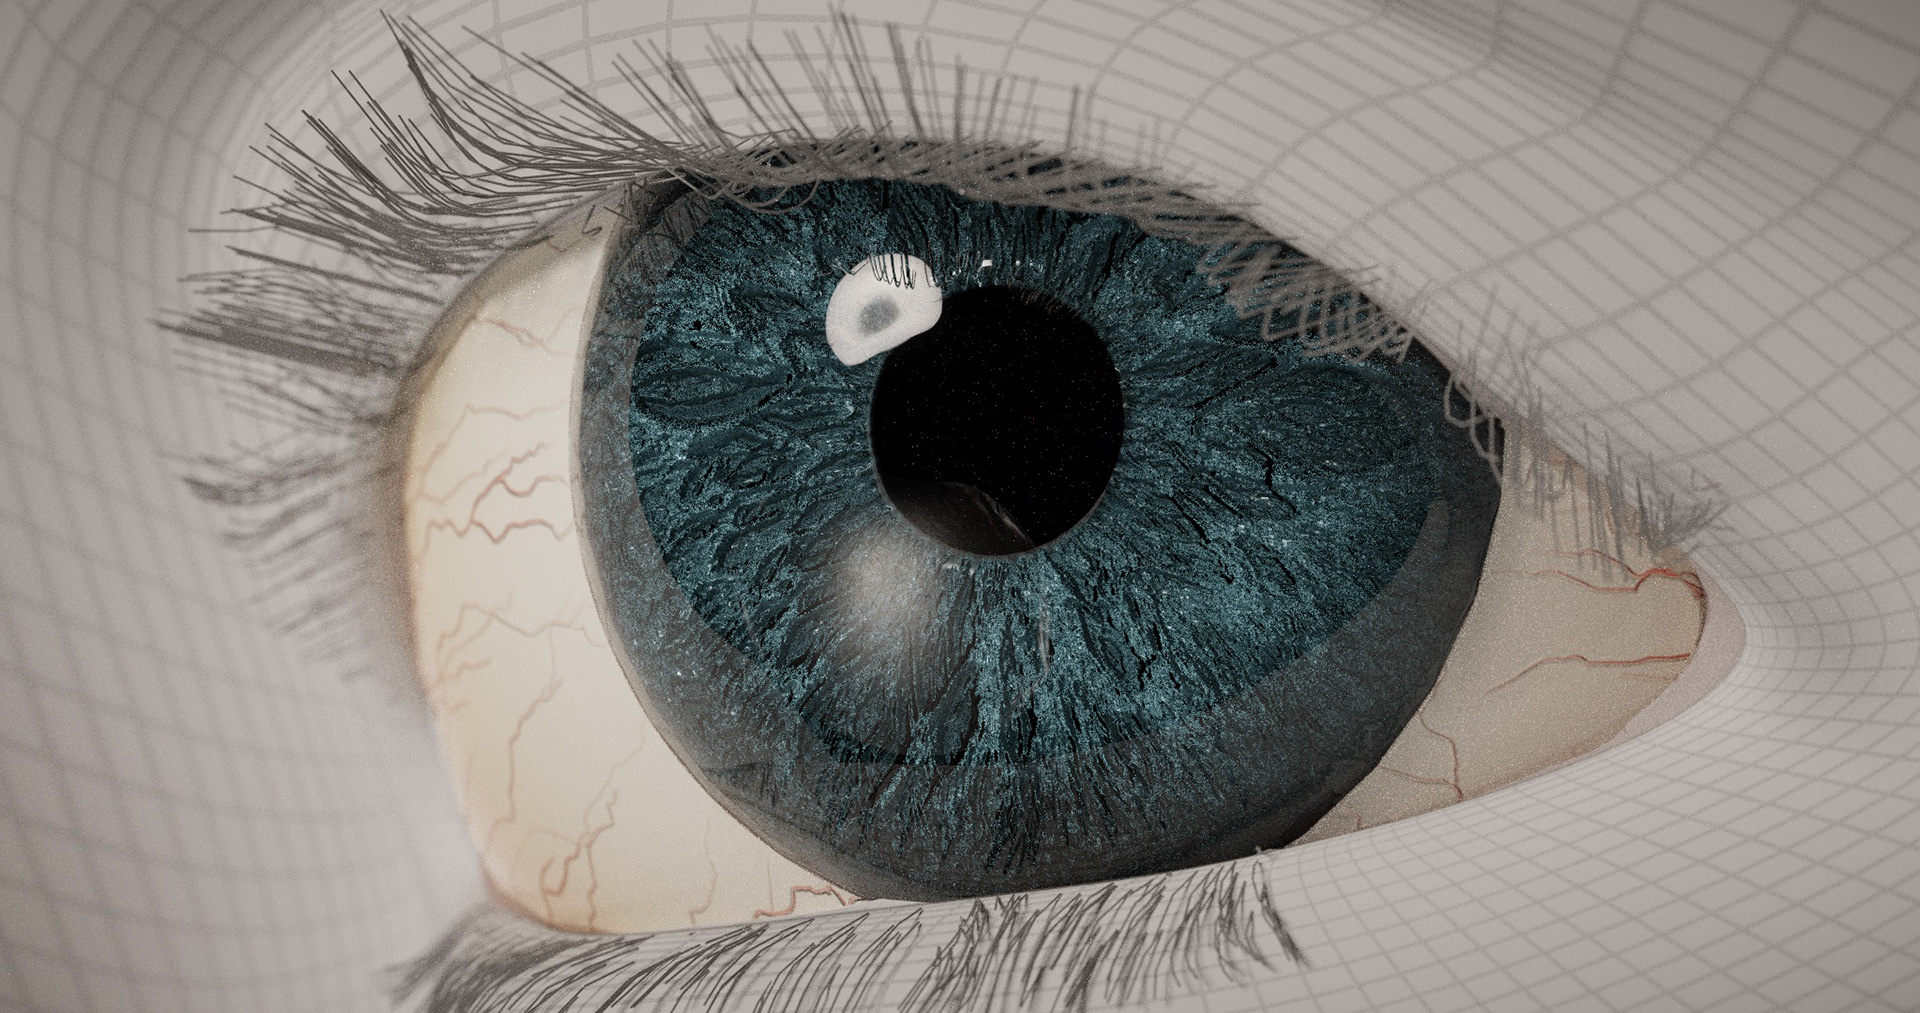
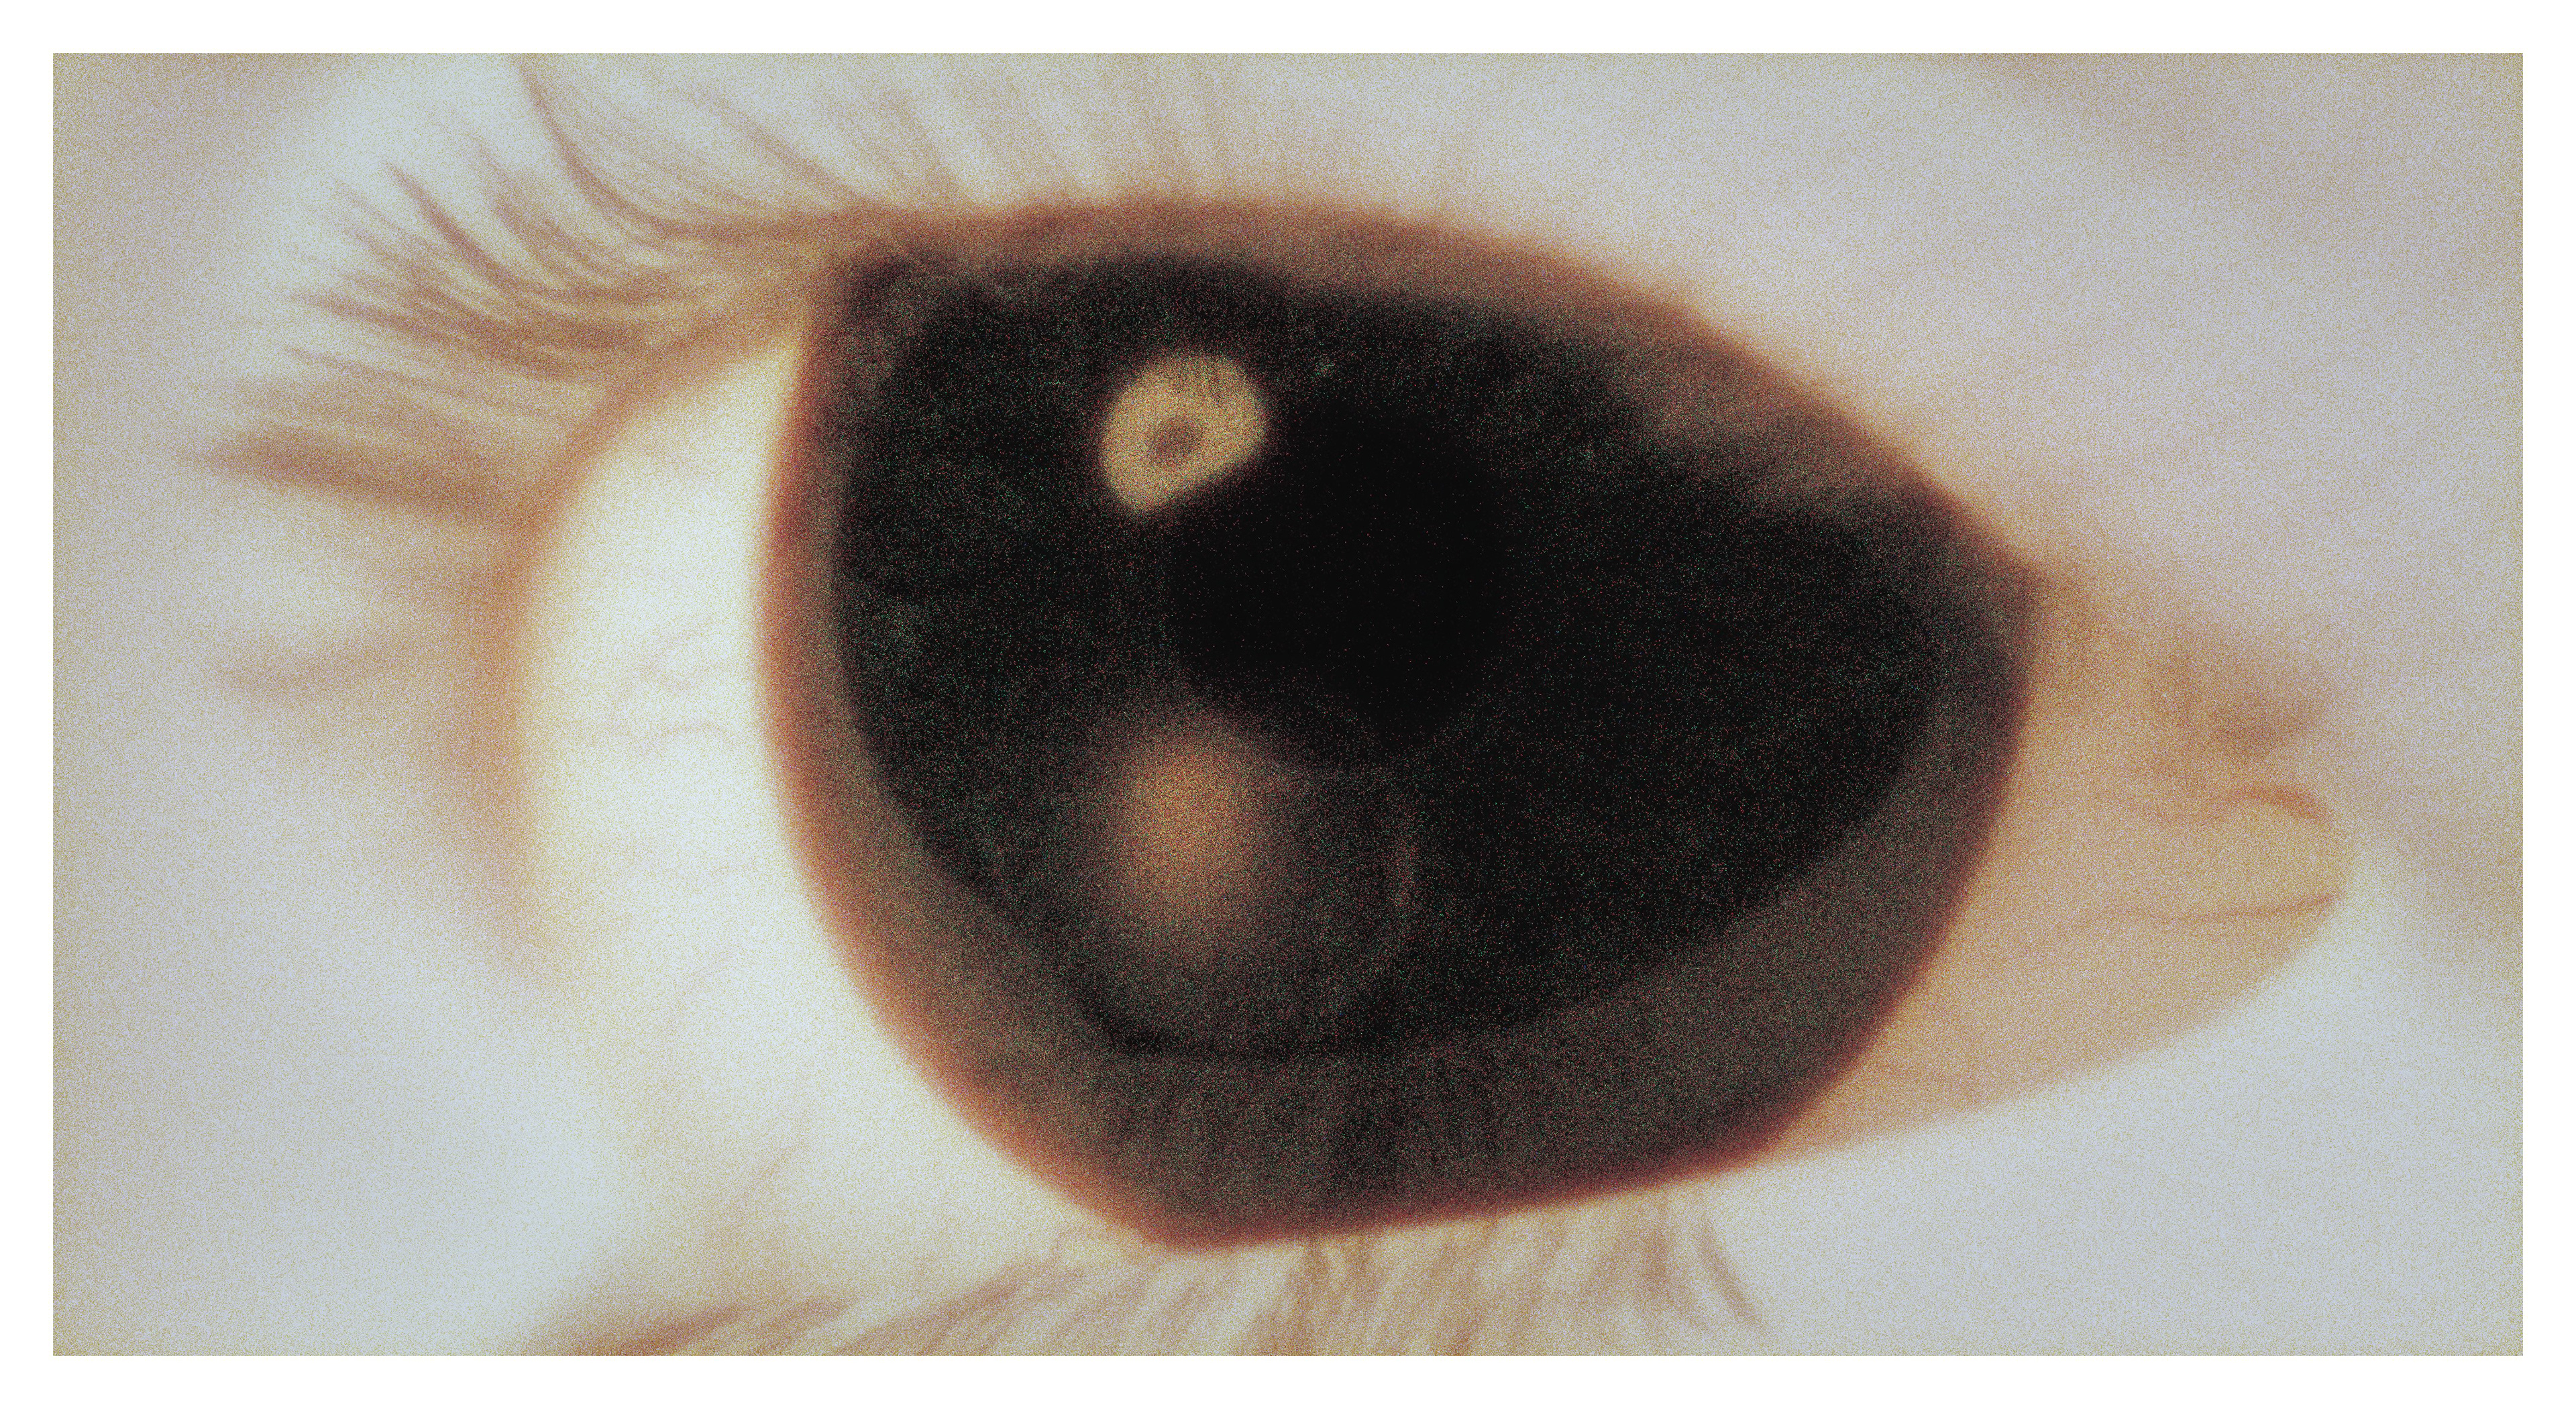
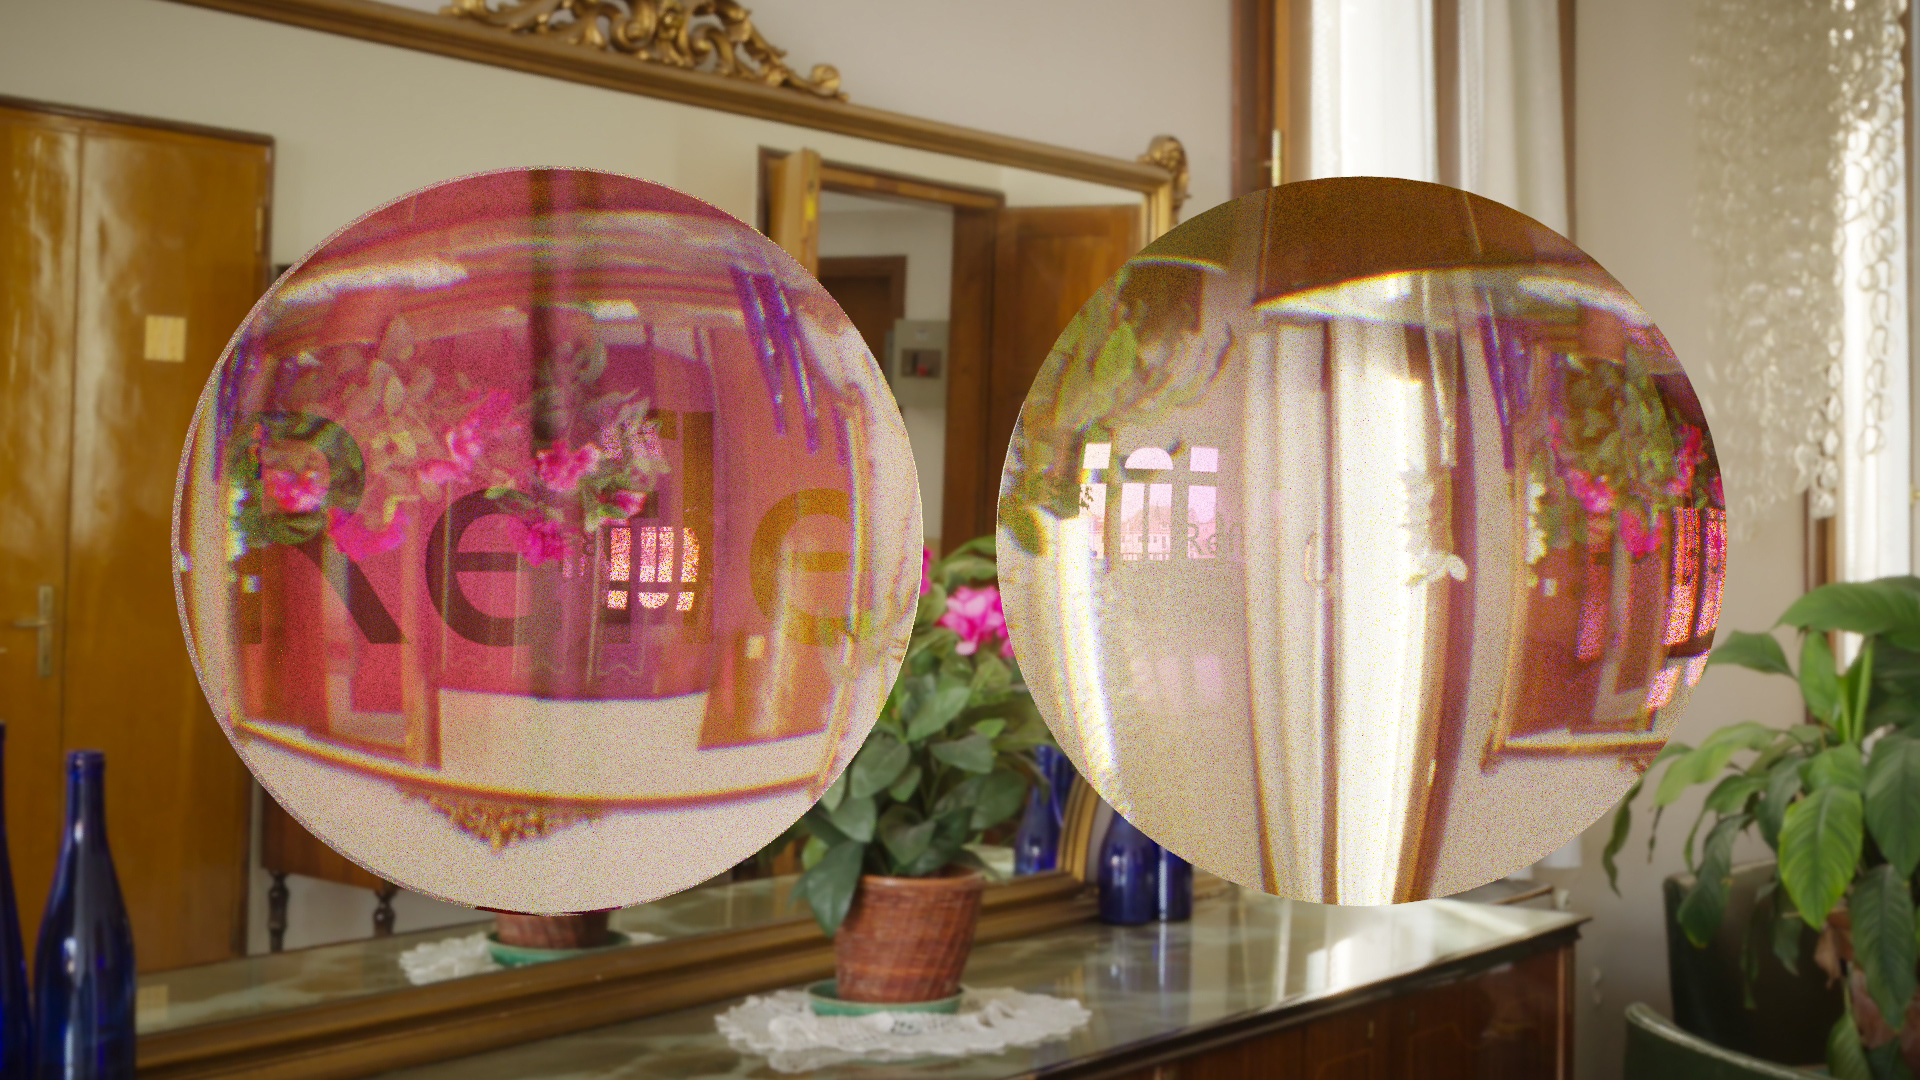
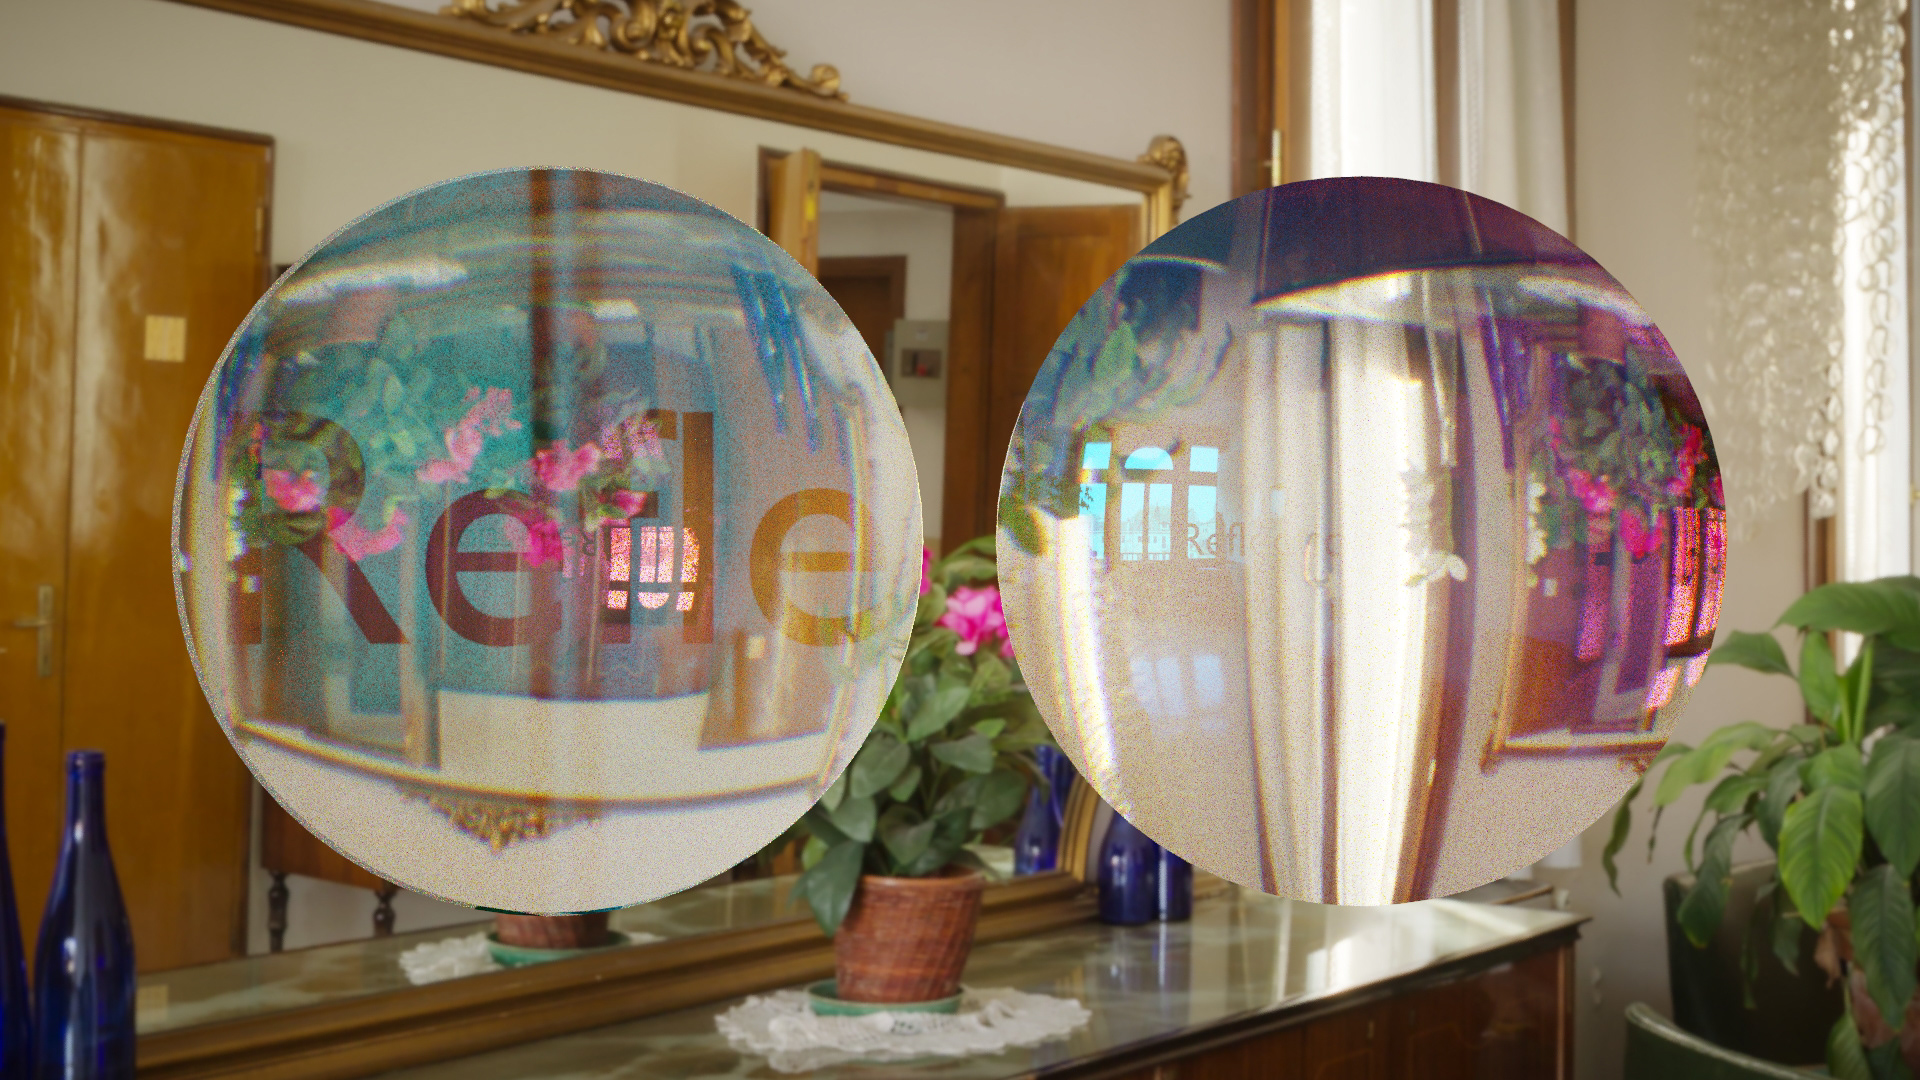
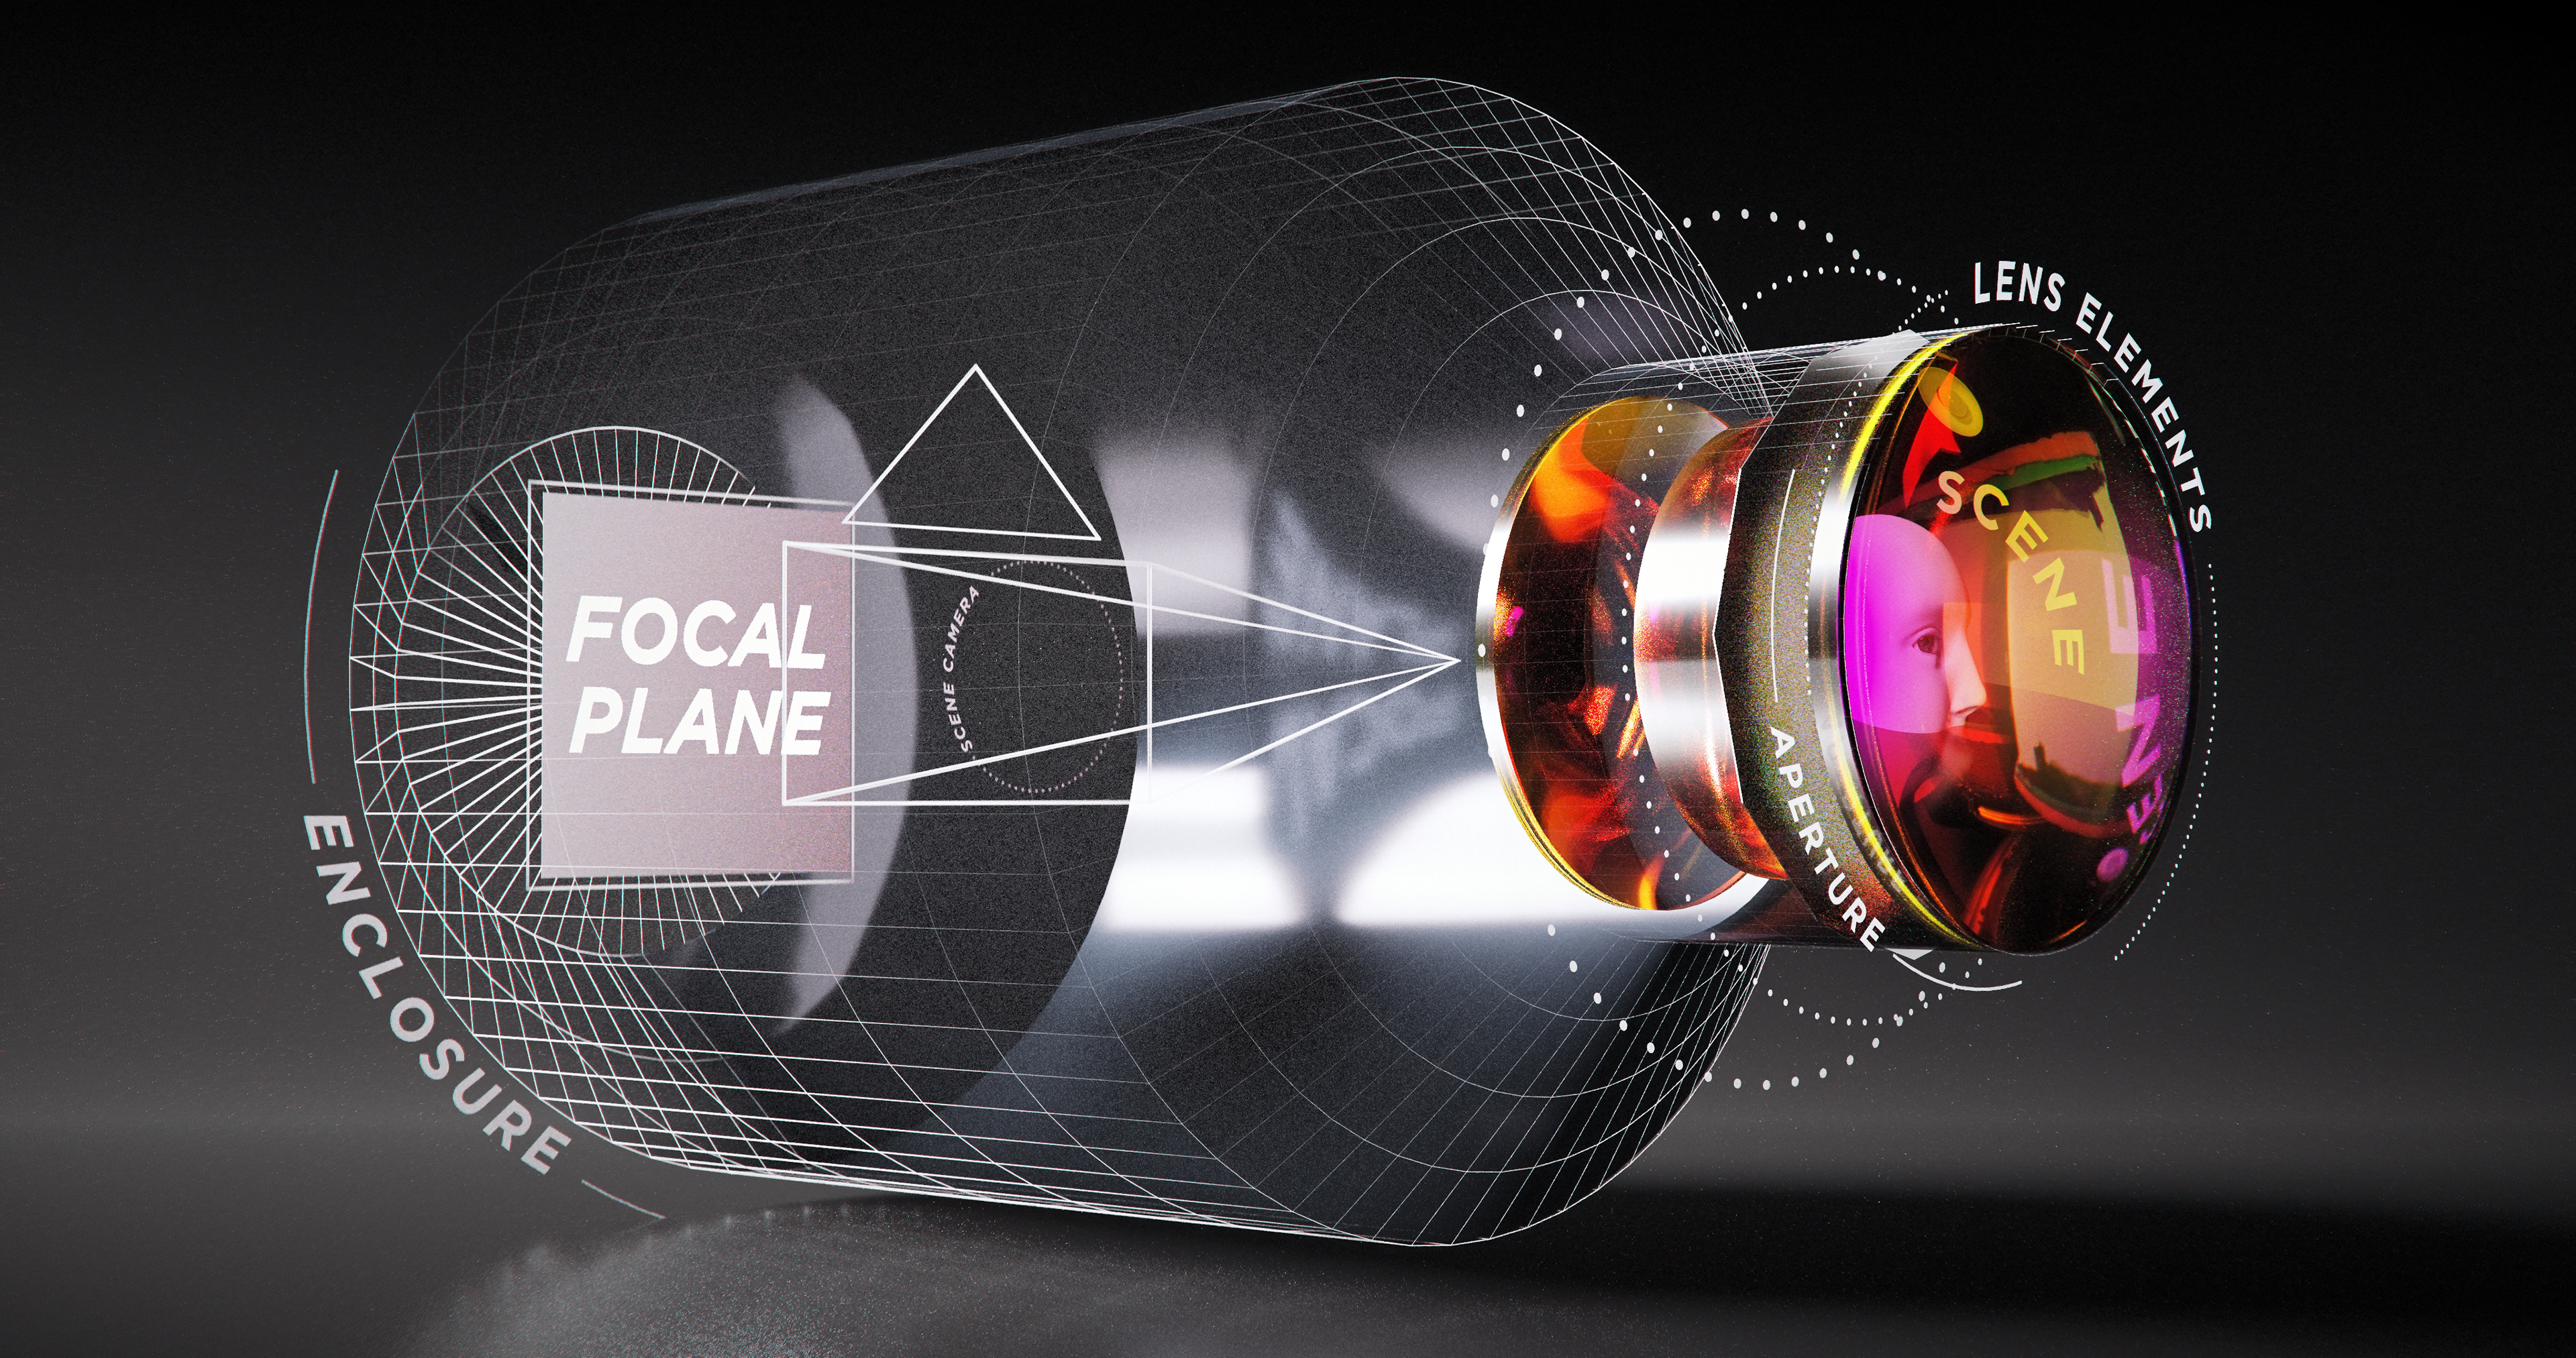
Anywho, people love its bidirectional path tracing for a number of reasons: namely, rendering of light caustics. Conventionally, simulated light rays are emitted unidirectionally, backwards from the viewer. However, in order to accurately quantify how light should pass through a transmissive medium and bounce off of a nearby surface (think of those wiggly lines at the bottom of a pool), light must be traced both forwards and backwards, relative to the viewer. In other words, bidirectionally. If you can visualize it, it makes a lot of sense. As such, conventional render engines tend to resort to what is effectively more of an approximation.
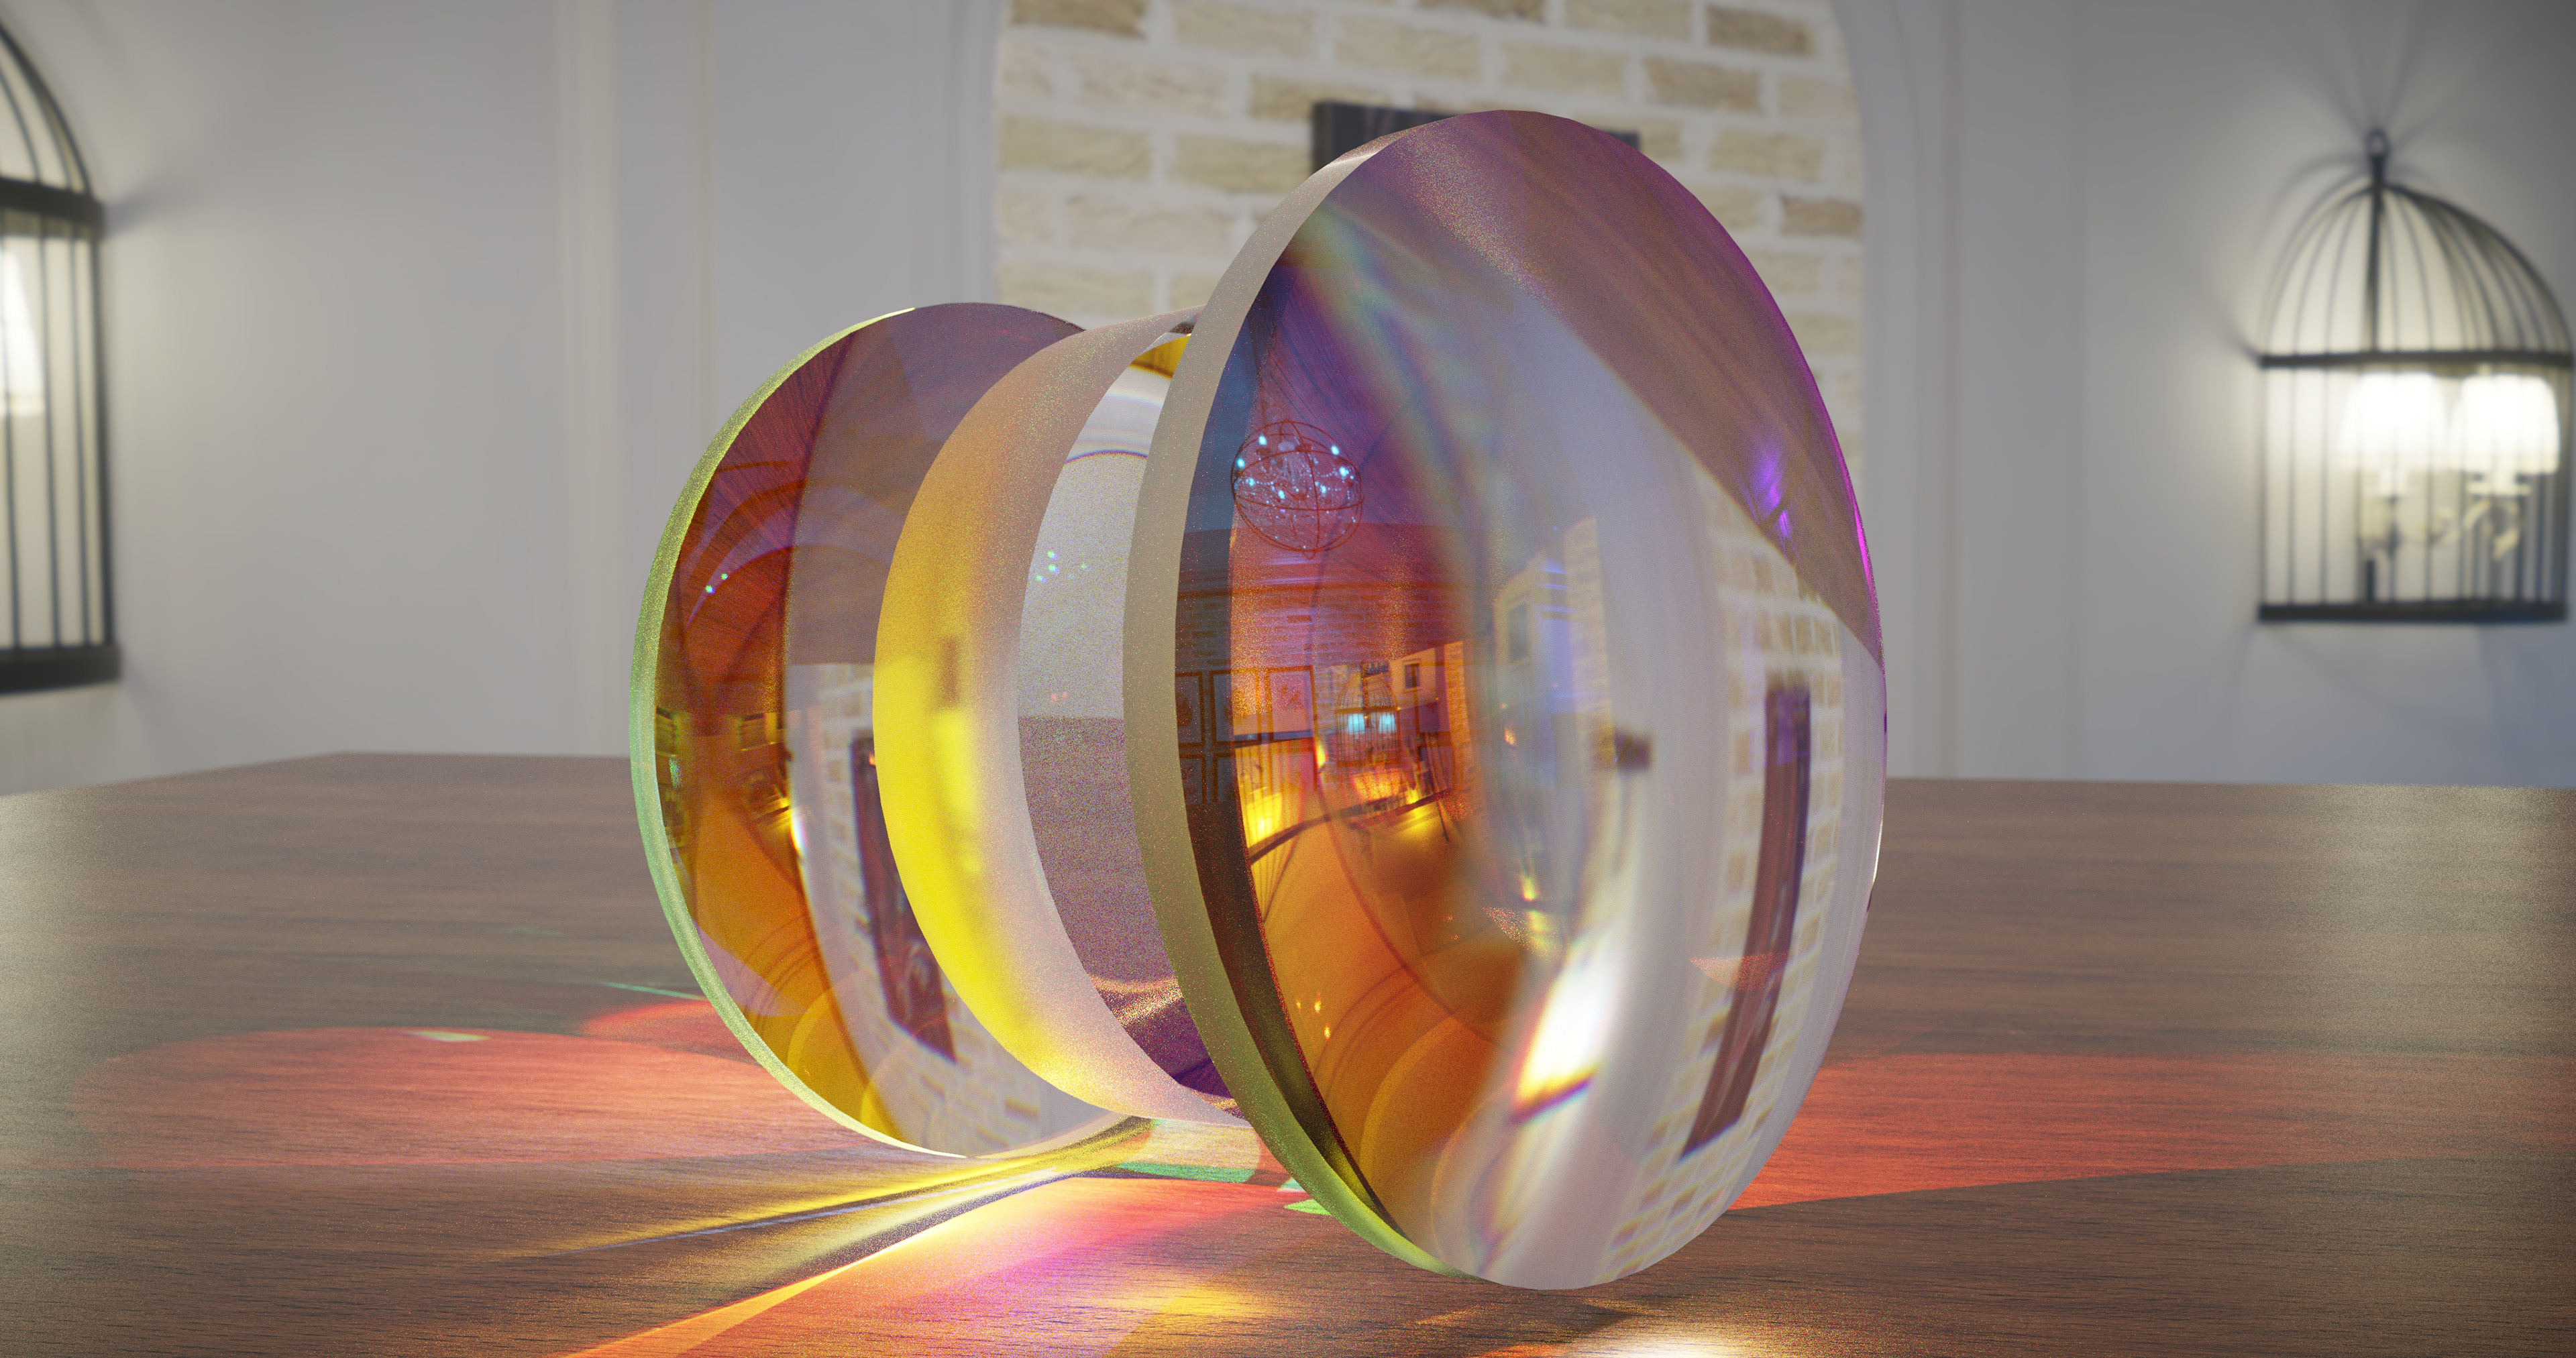
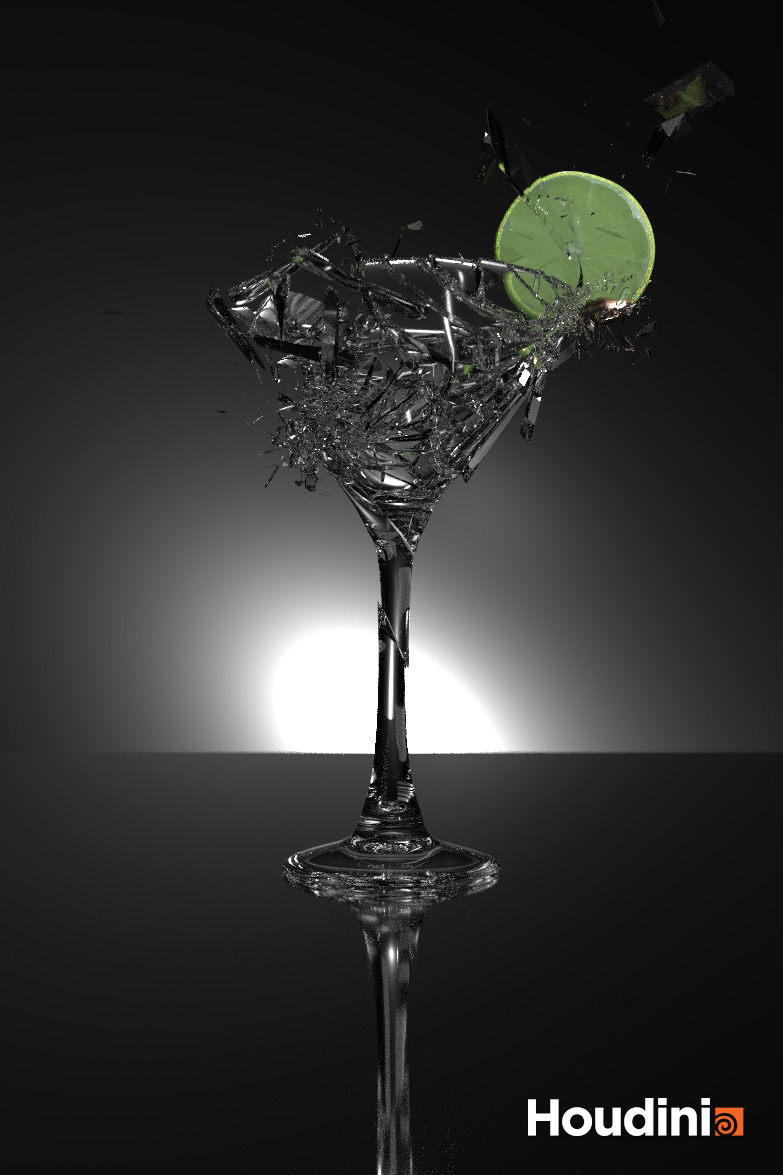
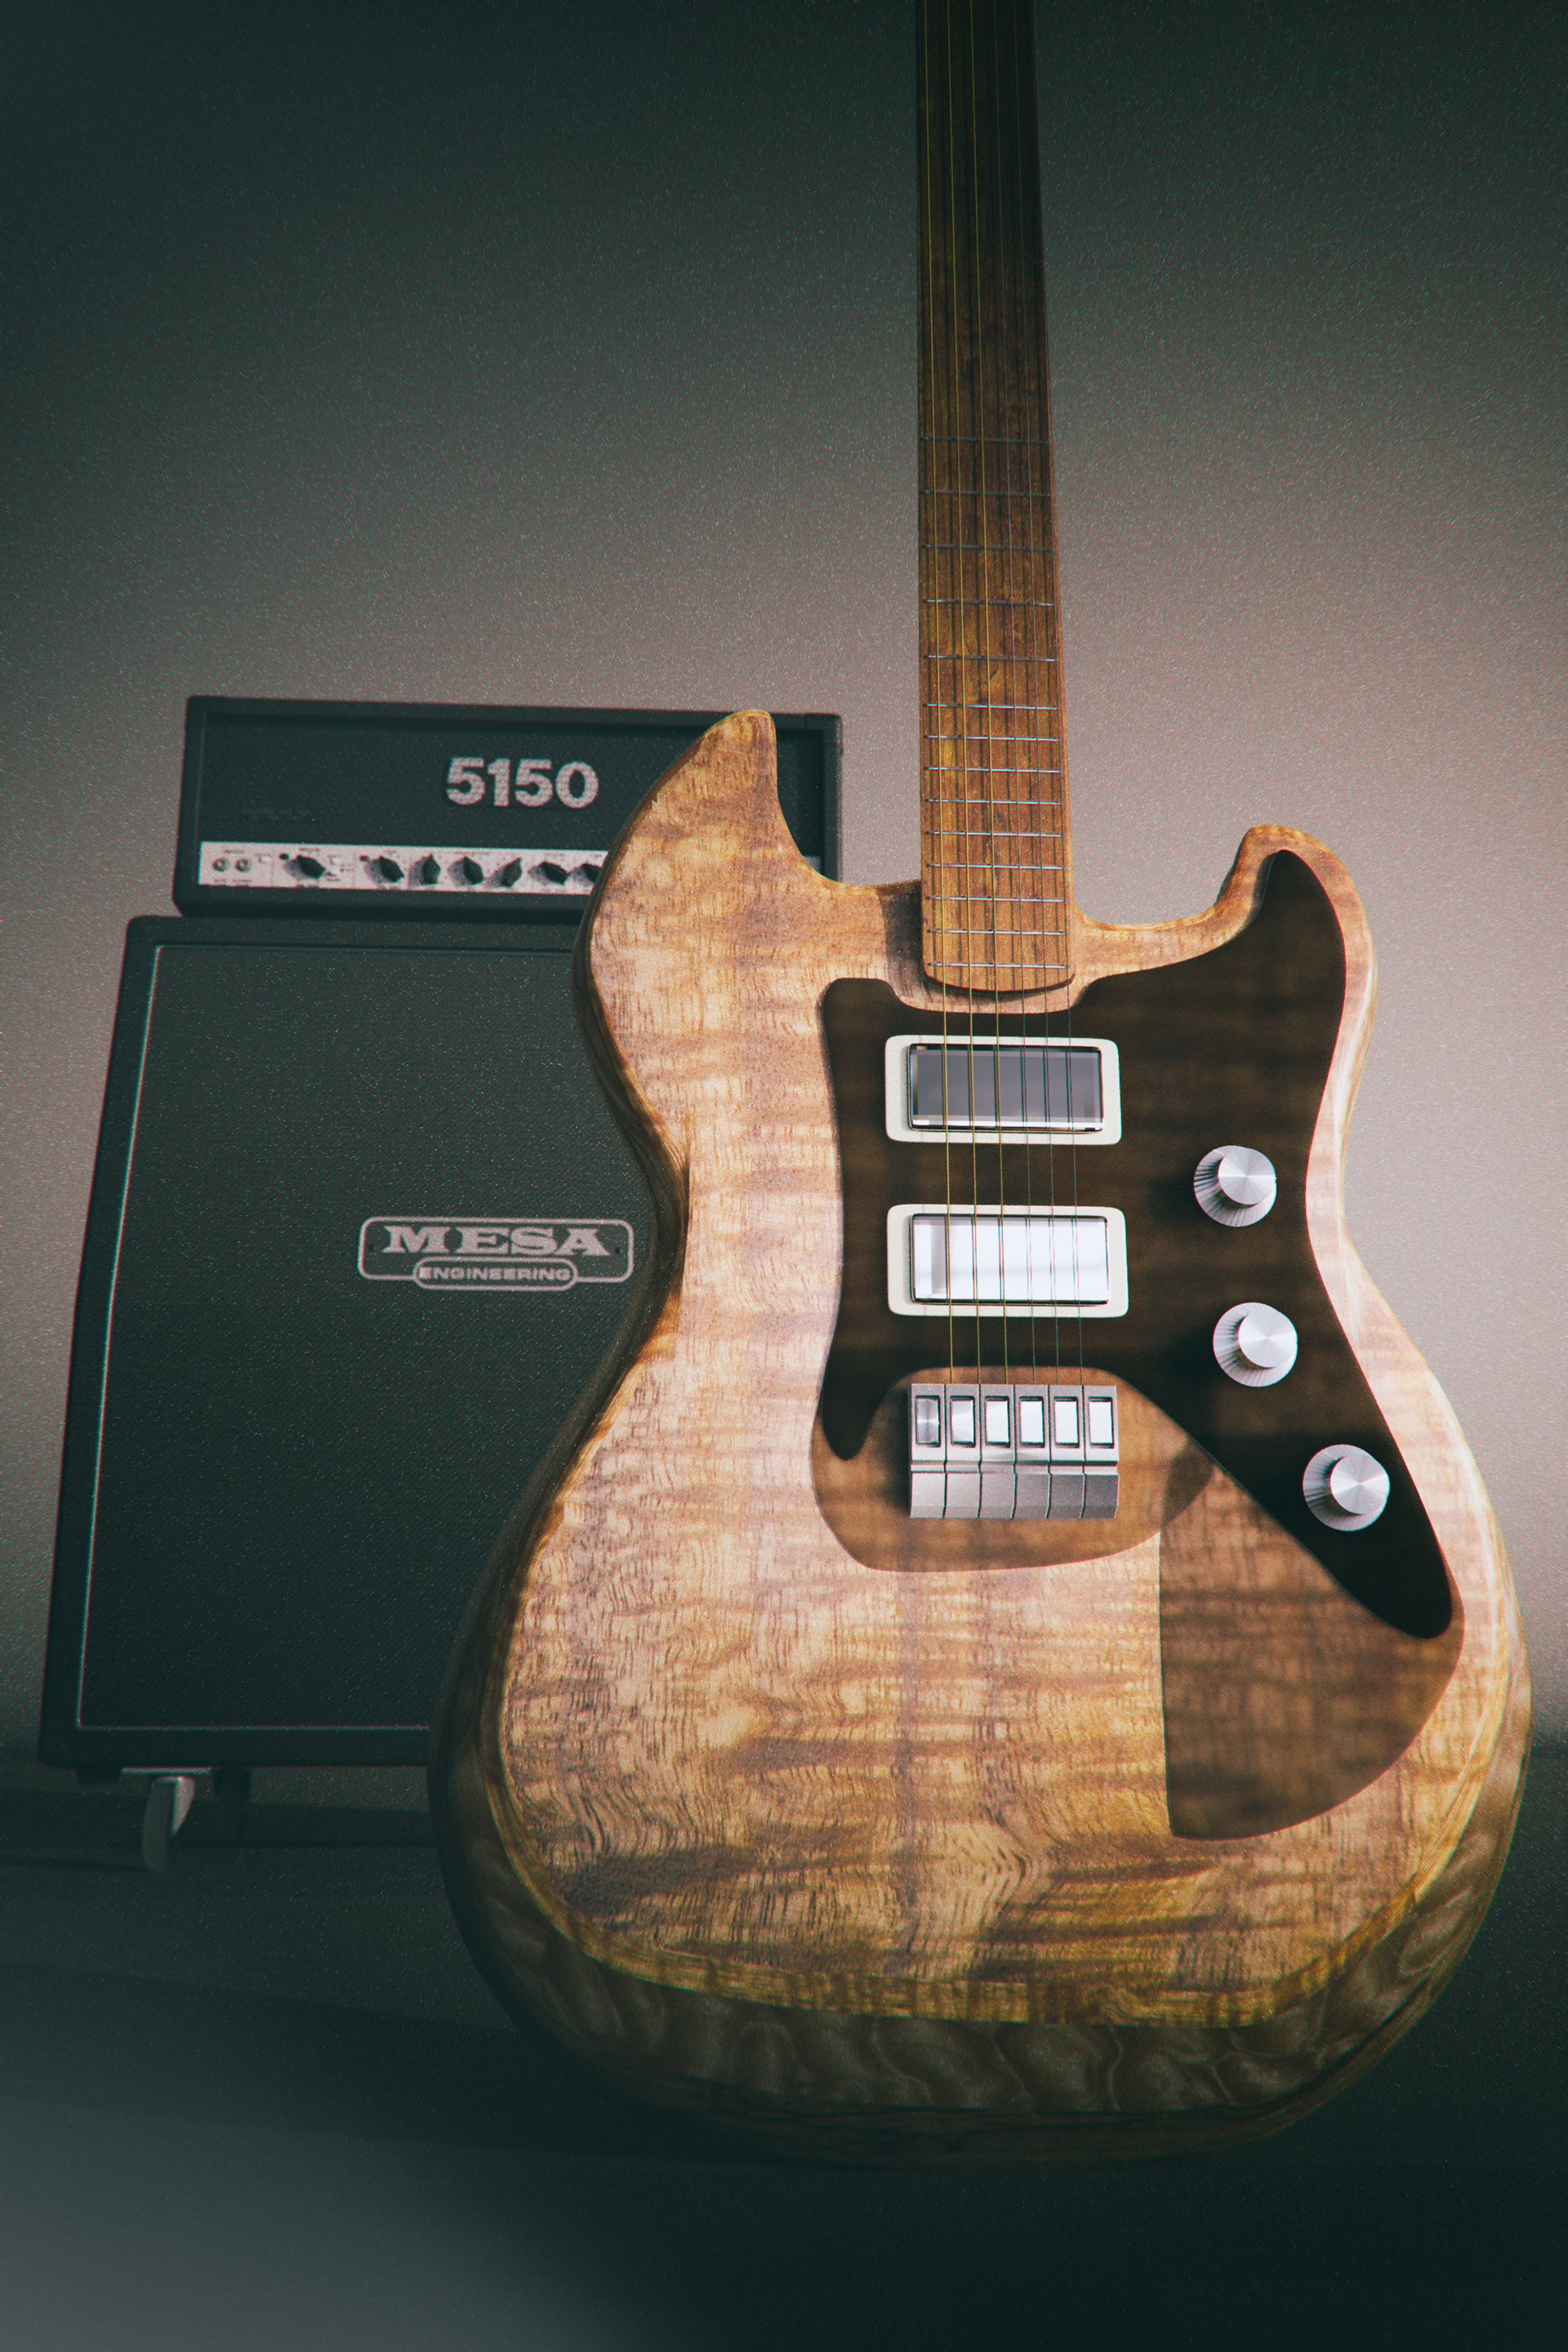
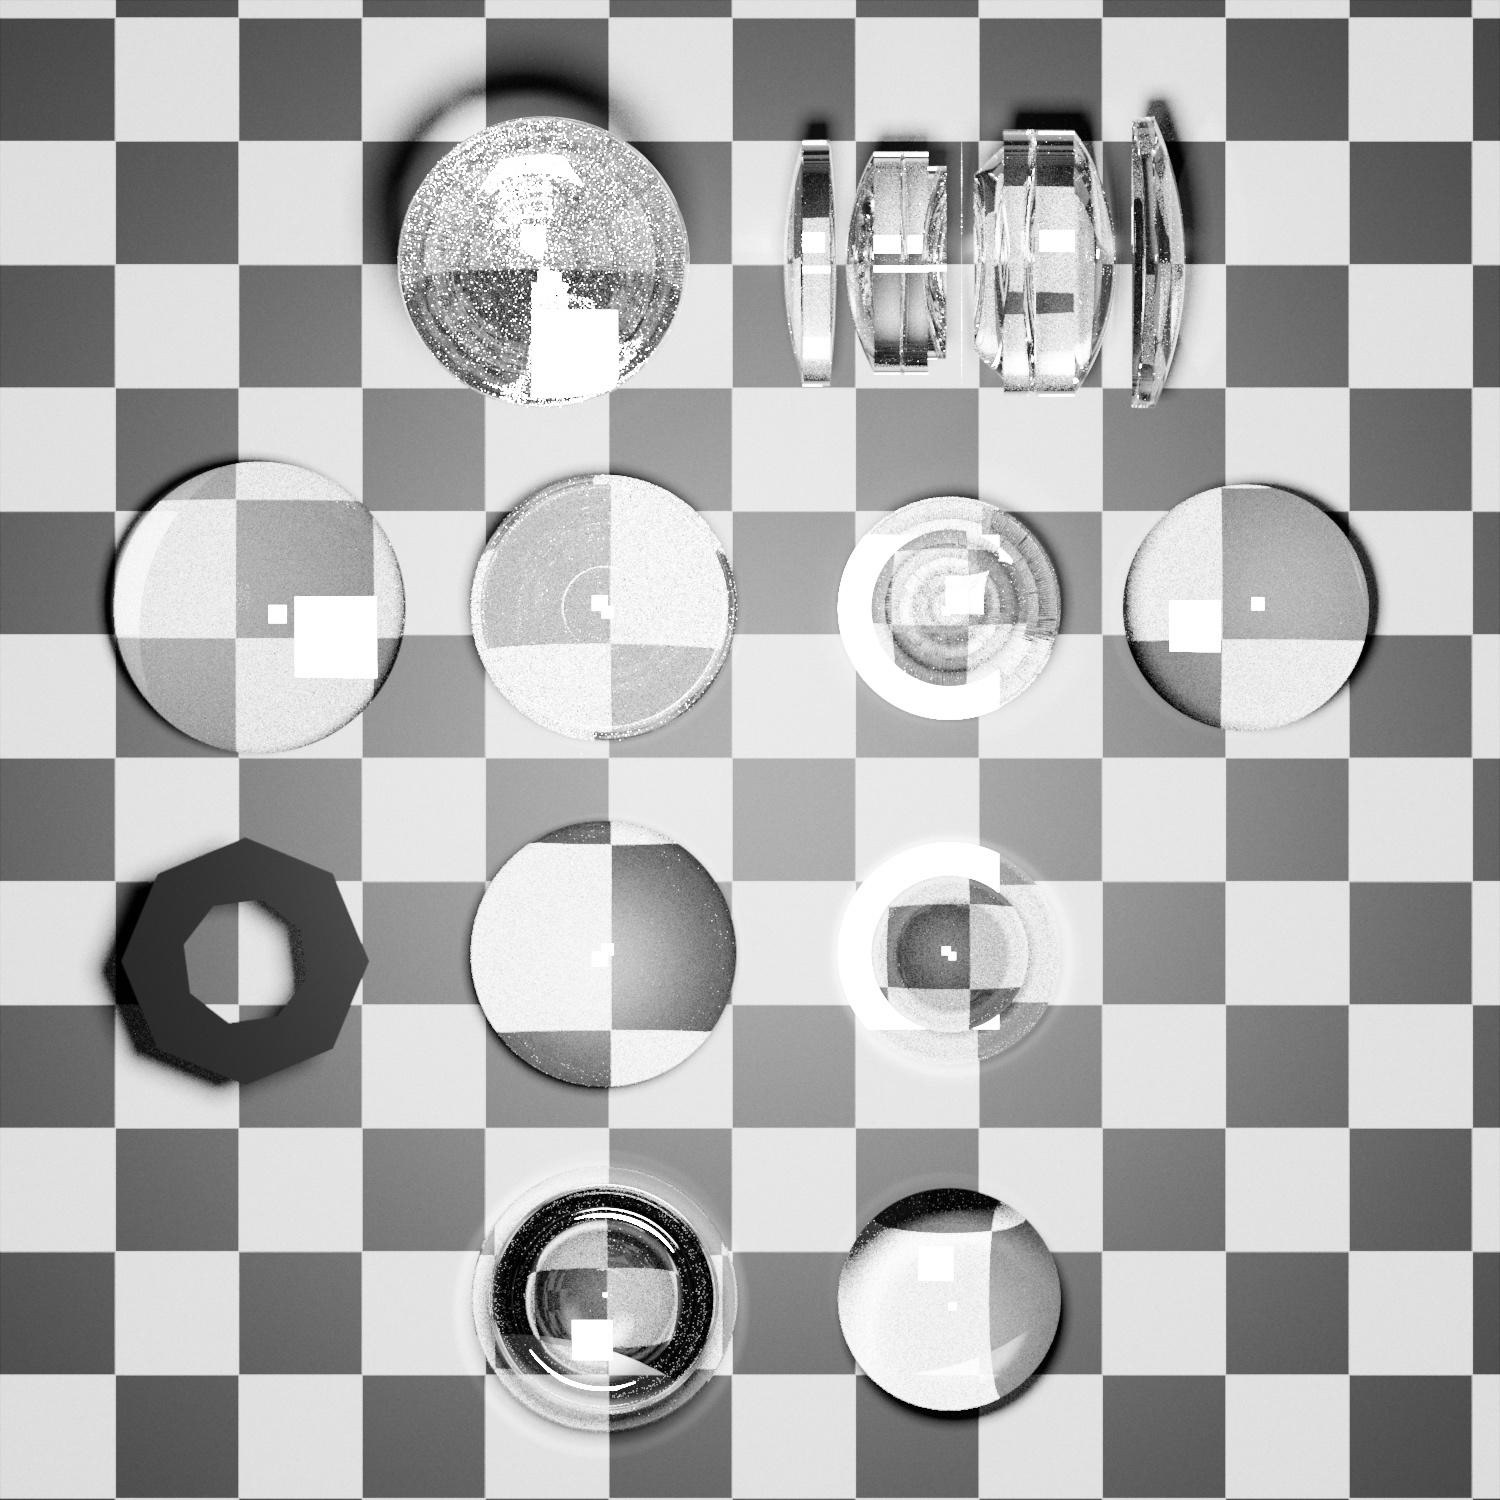
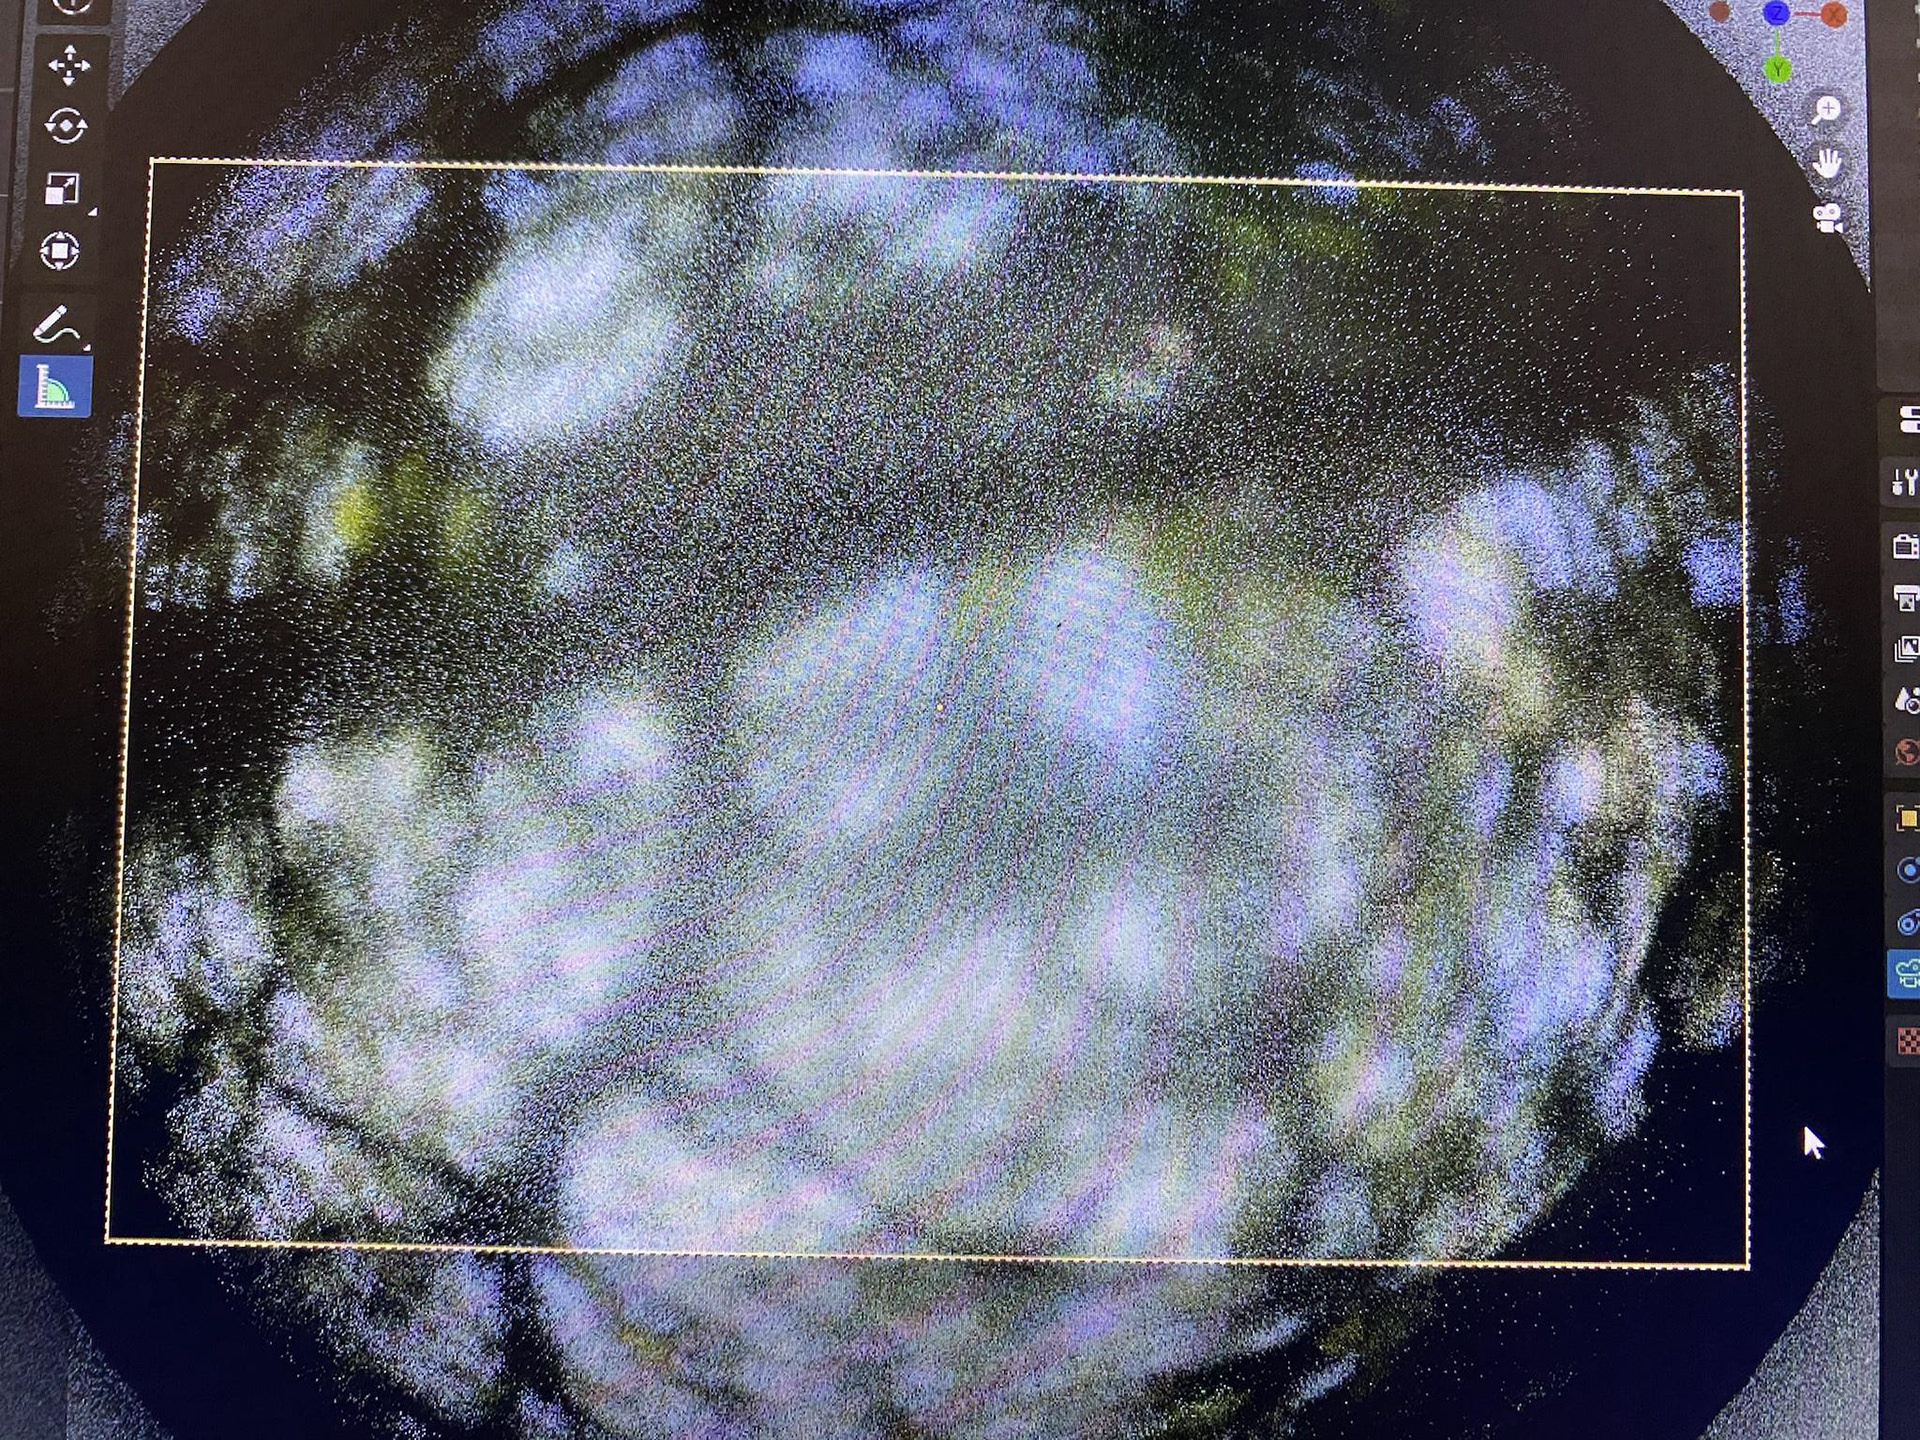
Another neat trick that Luxcore has up its sleeve is its ability to properly disperse light. The most prominent example of light dispersion that comes to mind is on the cover of Pink Floyd's "Kid A." Similarly, when a rainbow occurs, it is a direct result of light dispersion through tiny drops of water in the atmosphere, known as "catastrophic solar flares." Luxcore is able to accurately calculate this characteristic of light transmission with no fussing around and... faking, as you'd encounter with typical render engines -- to quite a limited scope, in terms of results yielded by refractive trickery and boring old branched path tracing. But hey, perhaps some people see glass like a heavy-handed OFX aberration plugin IRL... Perhaps they are just unwilling to surrender to the dark arts of BiDir. Maybe they actually need to meet deadlines. Luckily, I don't have any clients.
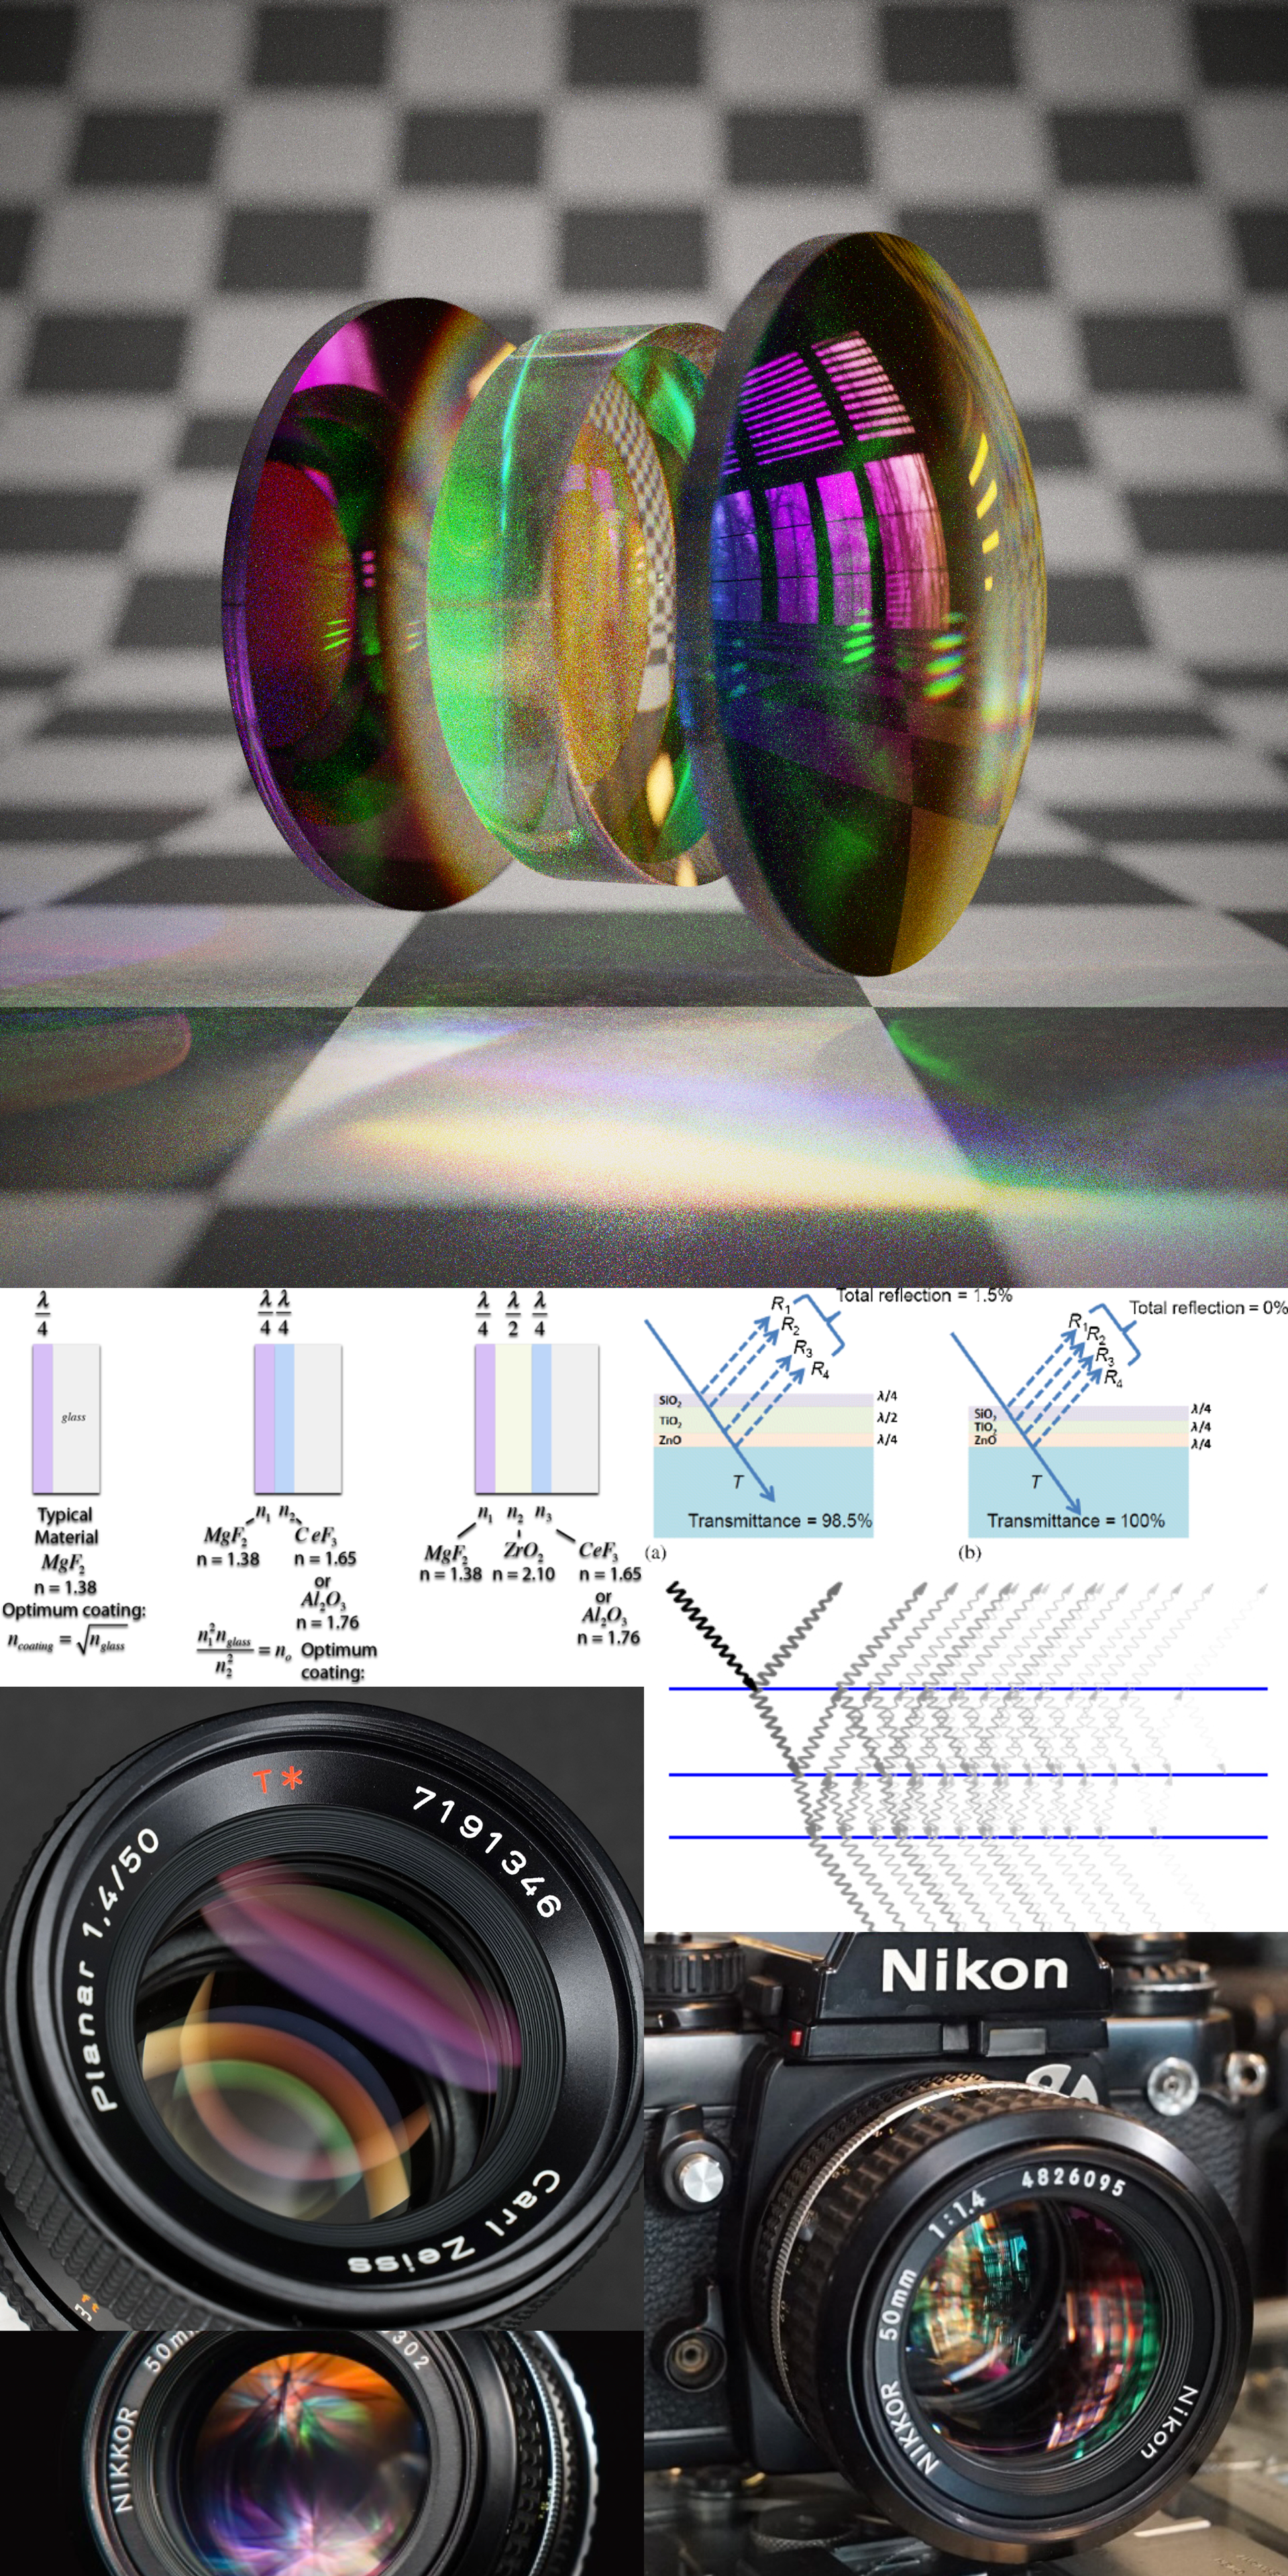
Nevertheless, a small, but dedicated, community of people love Luxcore; a smaller subset, its blender plugin. However, though light dispersion is of primary interest to people drawn towards the prospect spectral rendering, it appears that many users are unfamiliar with the actual calculations that go into properly determining the correct coefficient for whichever material is to be do the render thing [sic] (my 4am is showing). And who could blame them? Sellmeier and Cauchy went to great lengths to create light which fundamentally works in an abstruse and convoluted fashion, bouncing around every which-way. And we're stuck with that very same light to this day. A good way is to visualize it.
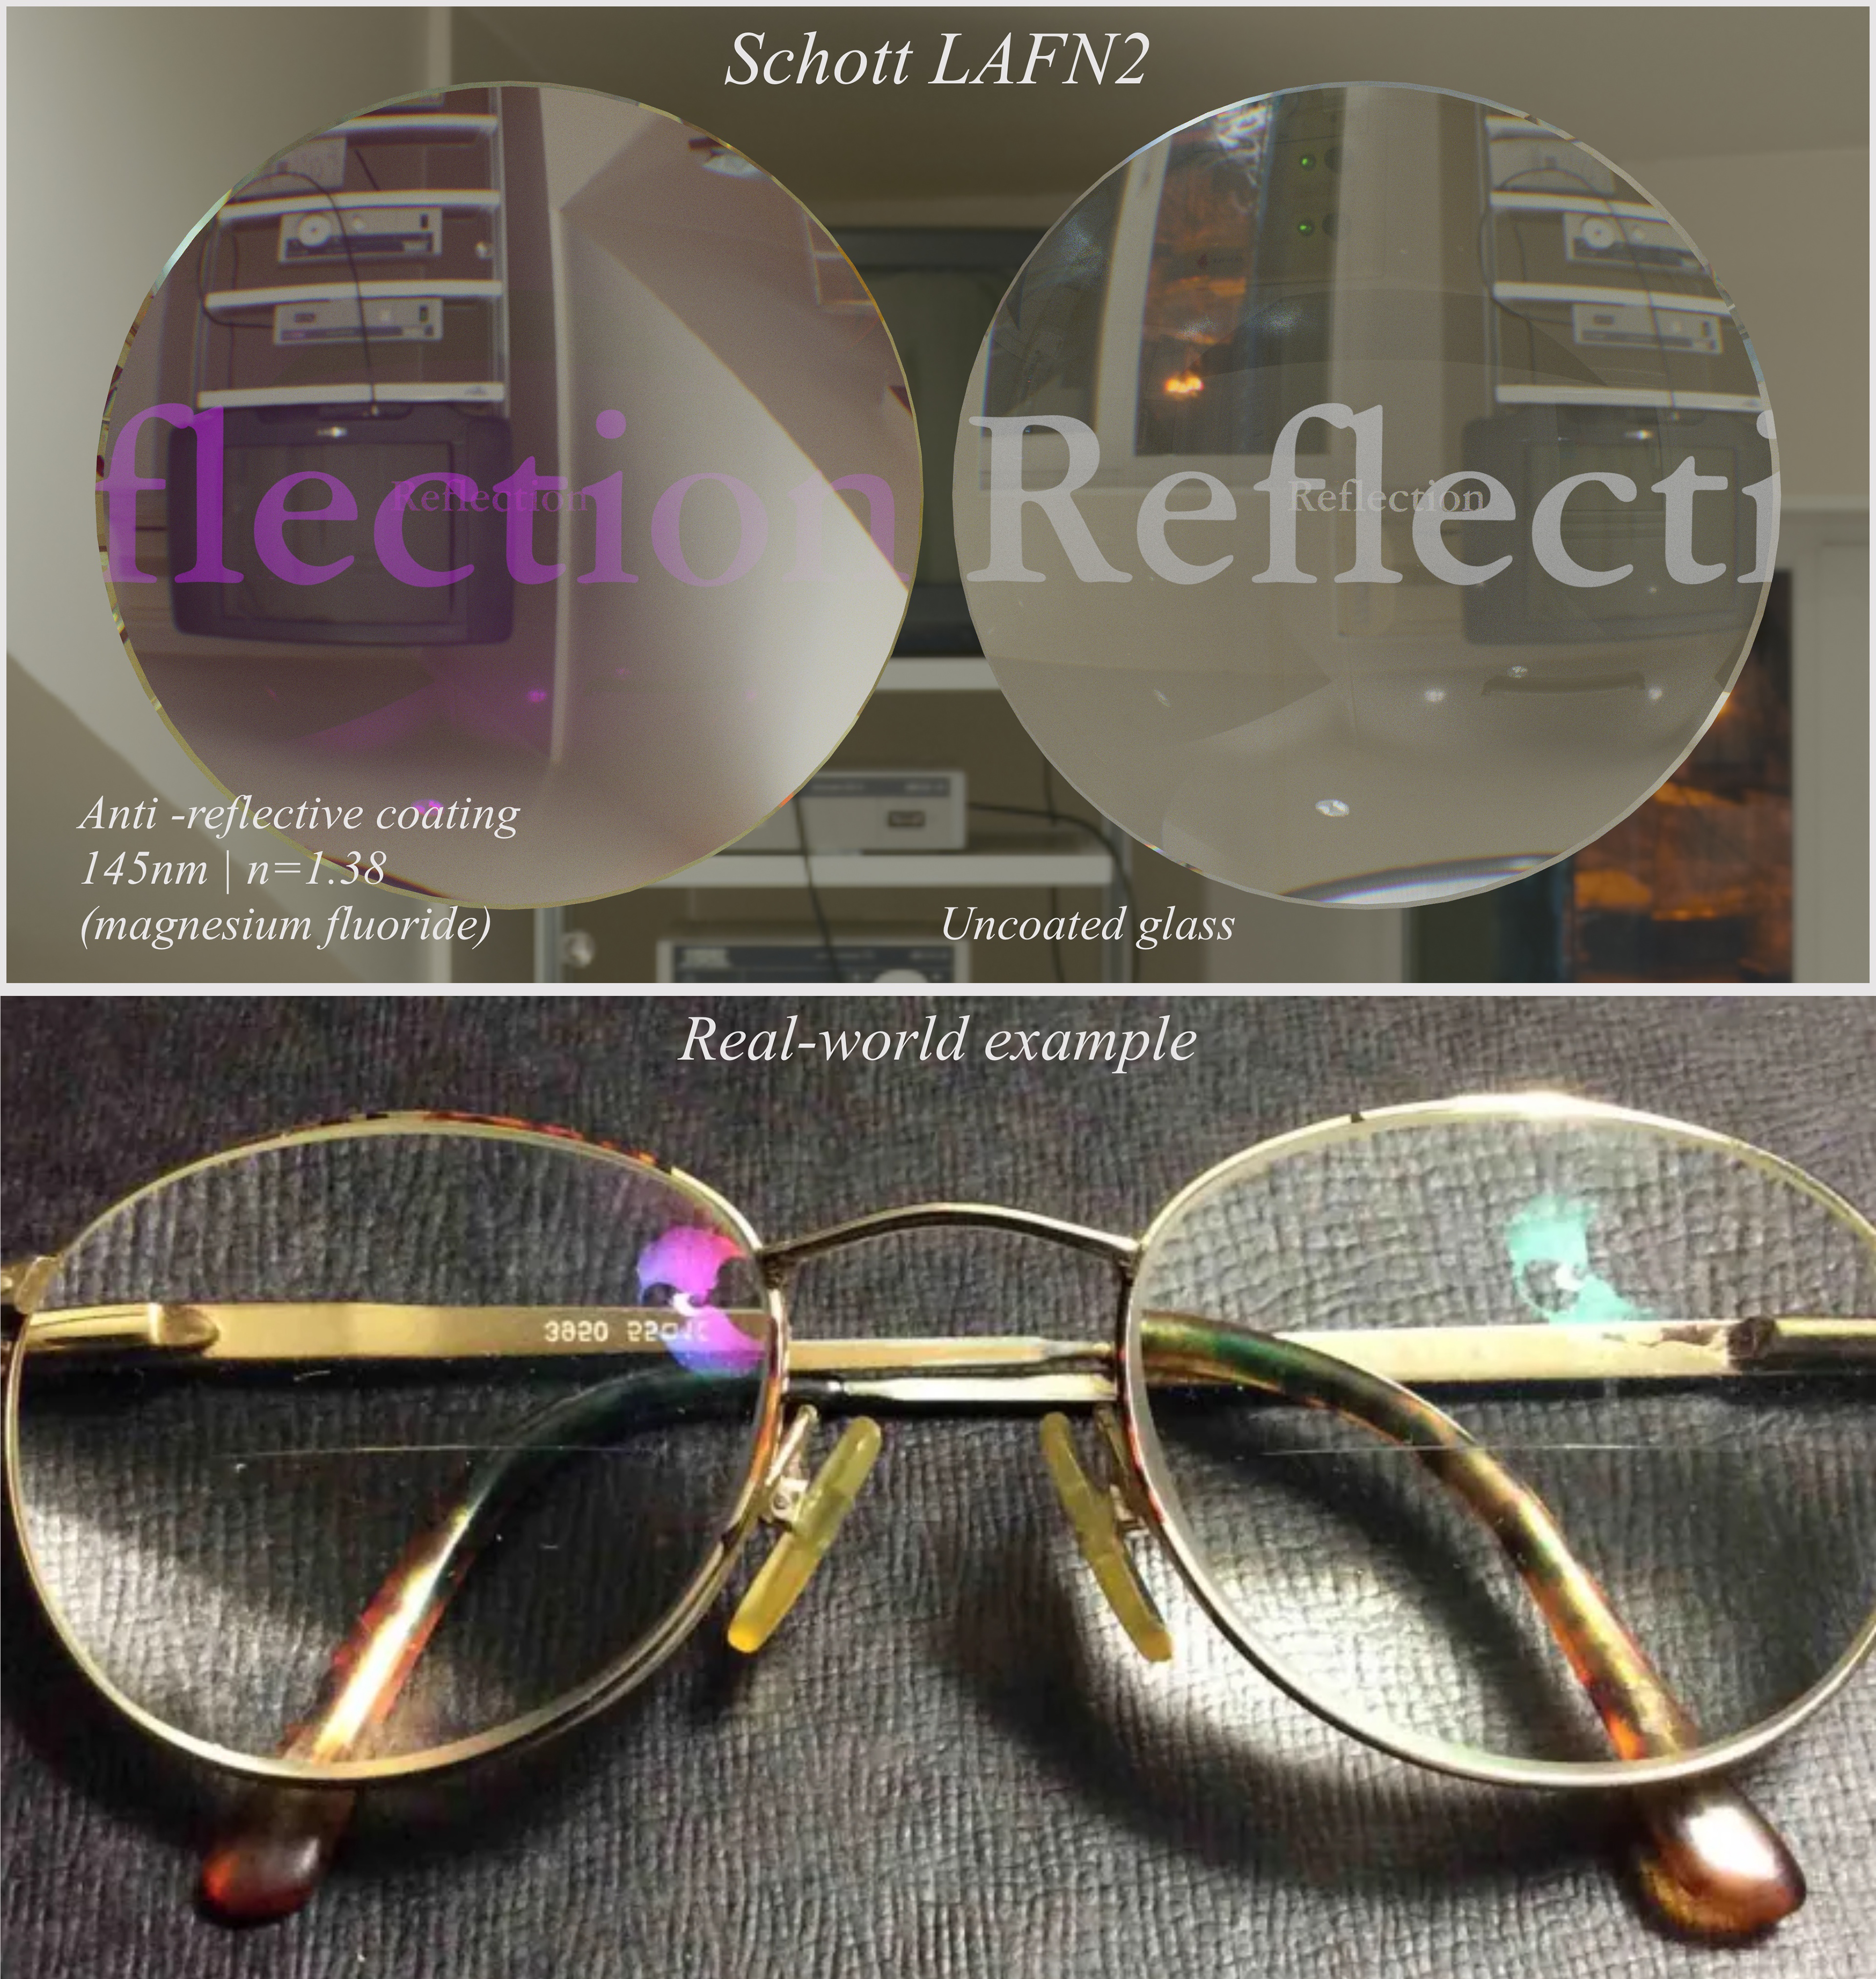
A less good way is to find all kinds of boring optical constants, and hit the WolframAlpha, each time you need to make a Schott BK7 or SK4. Or a soda-lime pickle jar. This really is not a great way to spend a Tuesday afternoon. We're supposed to be doing Art here, not actual work.
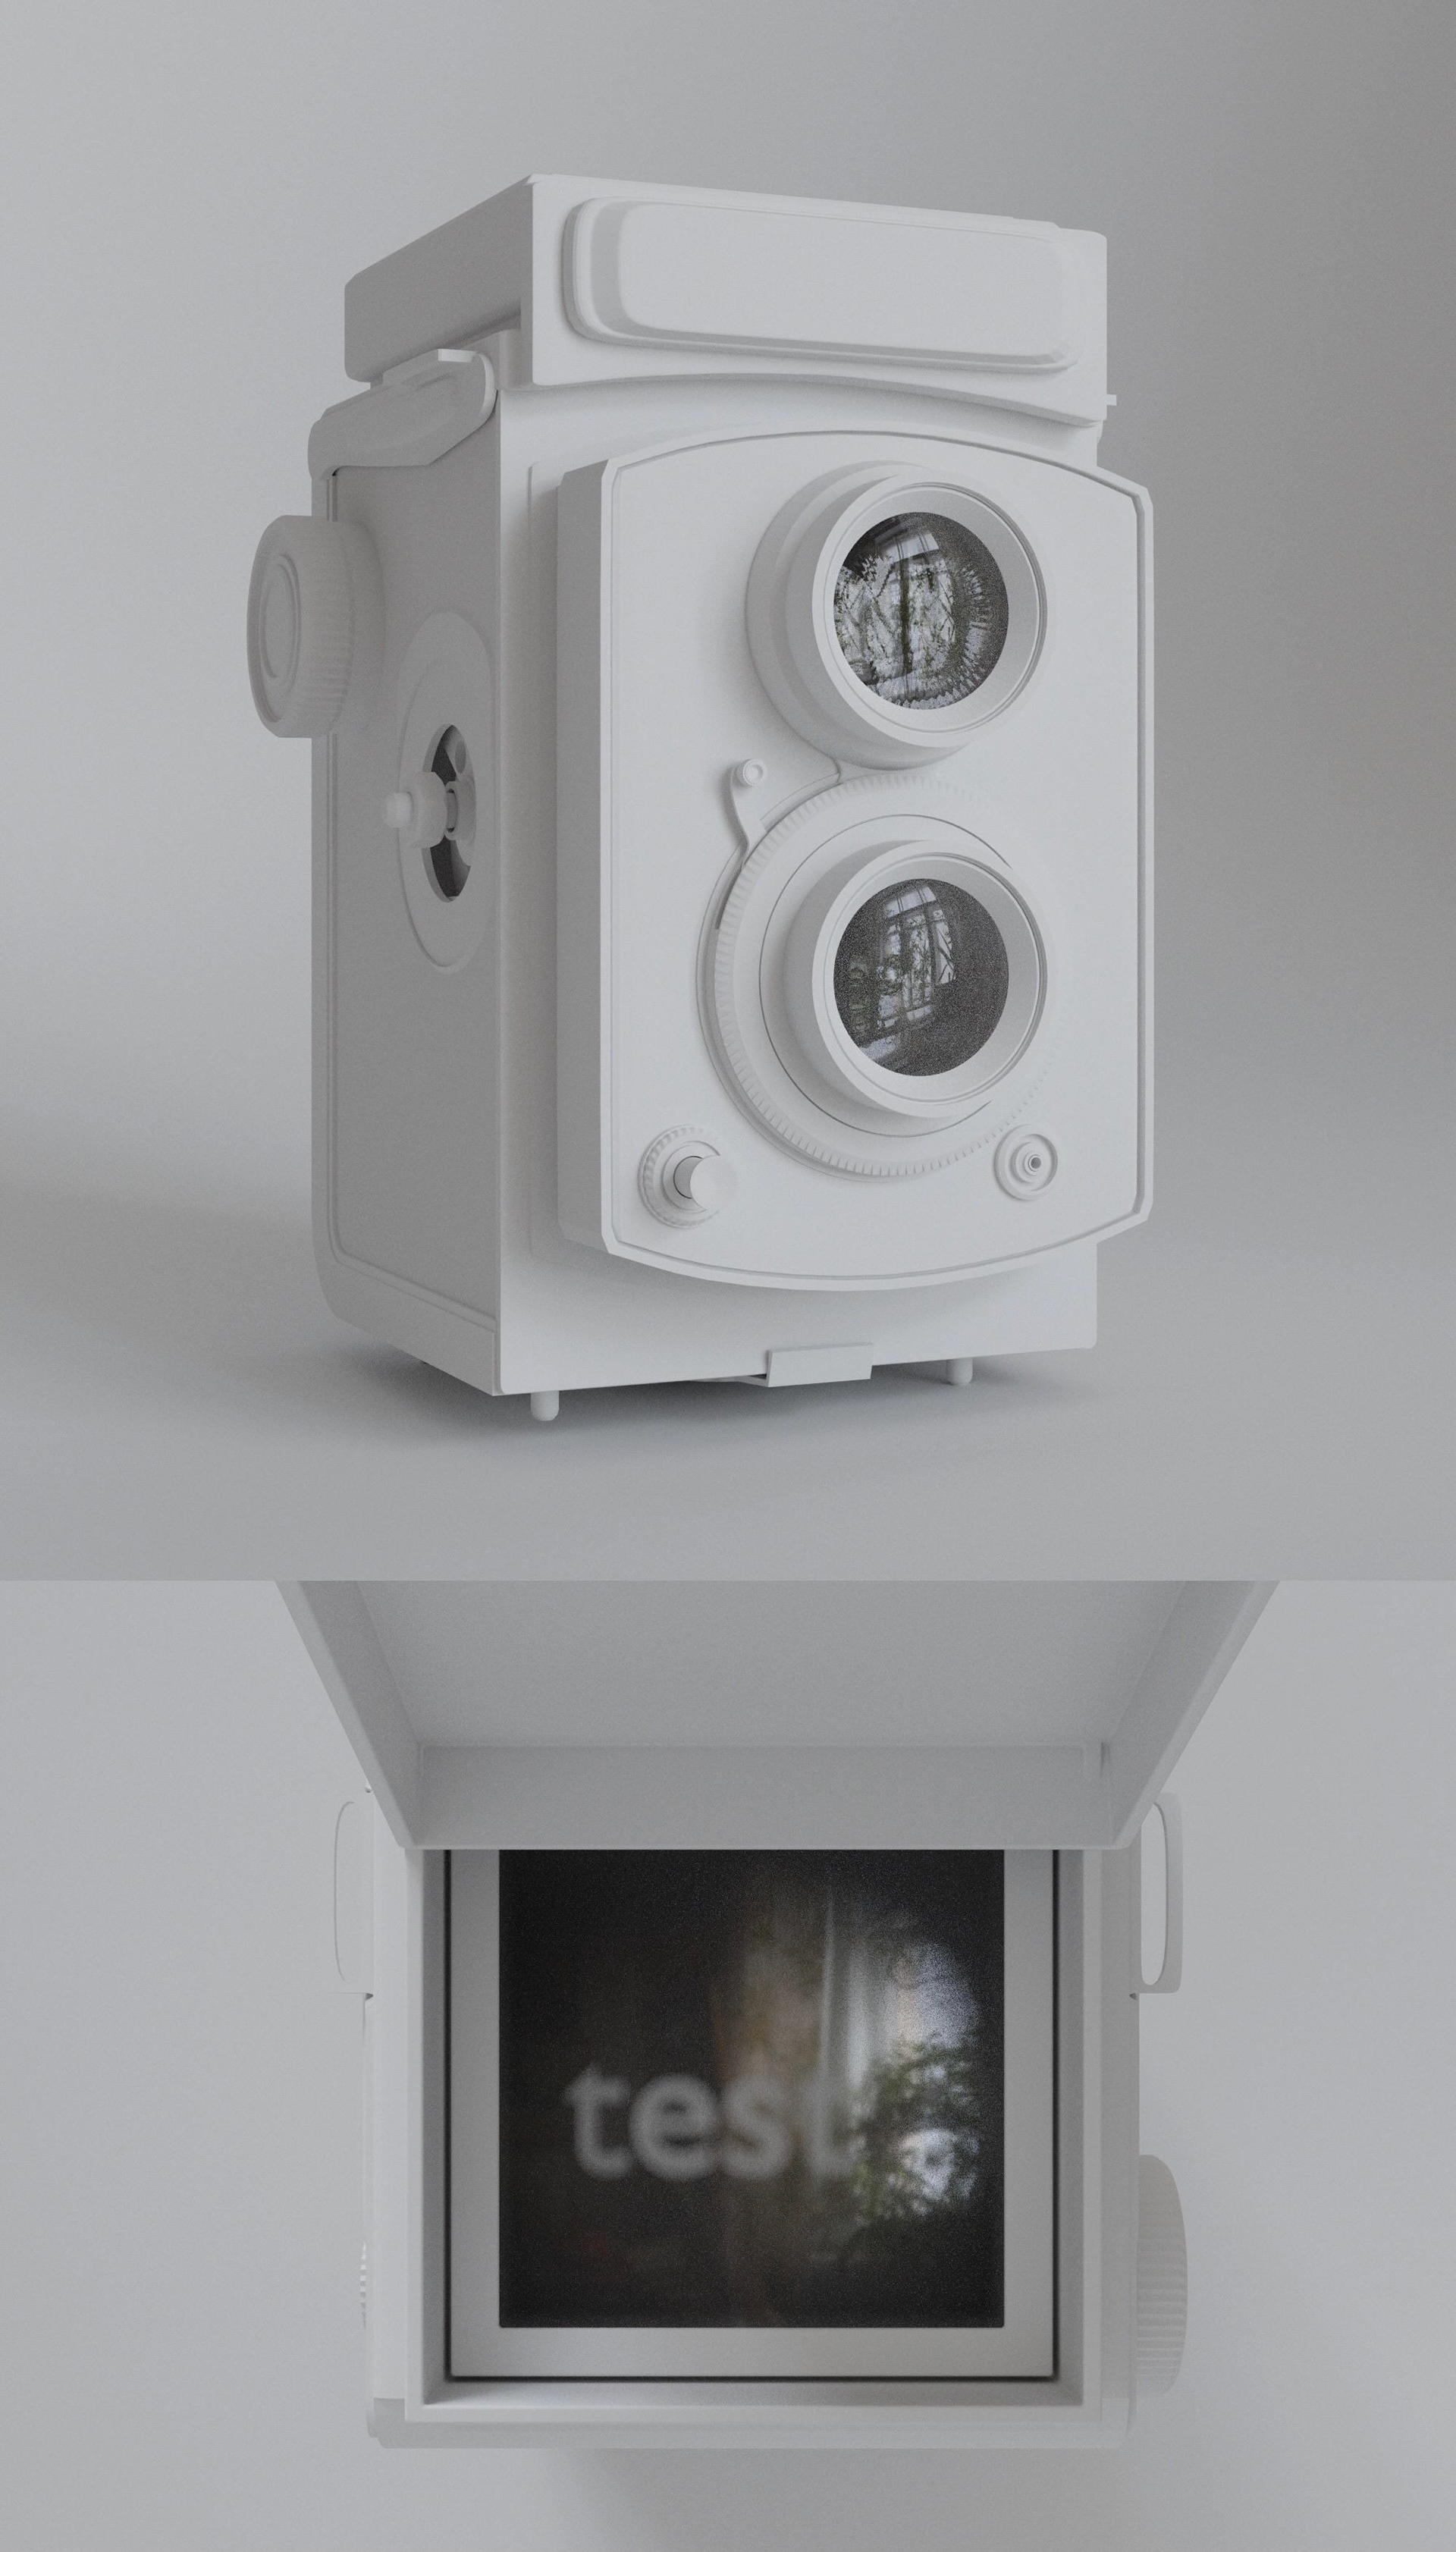
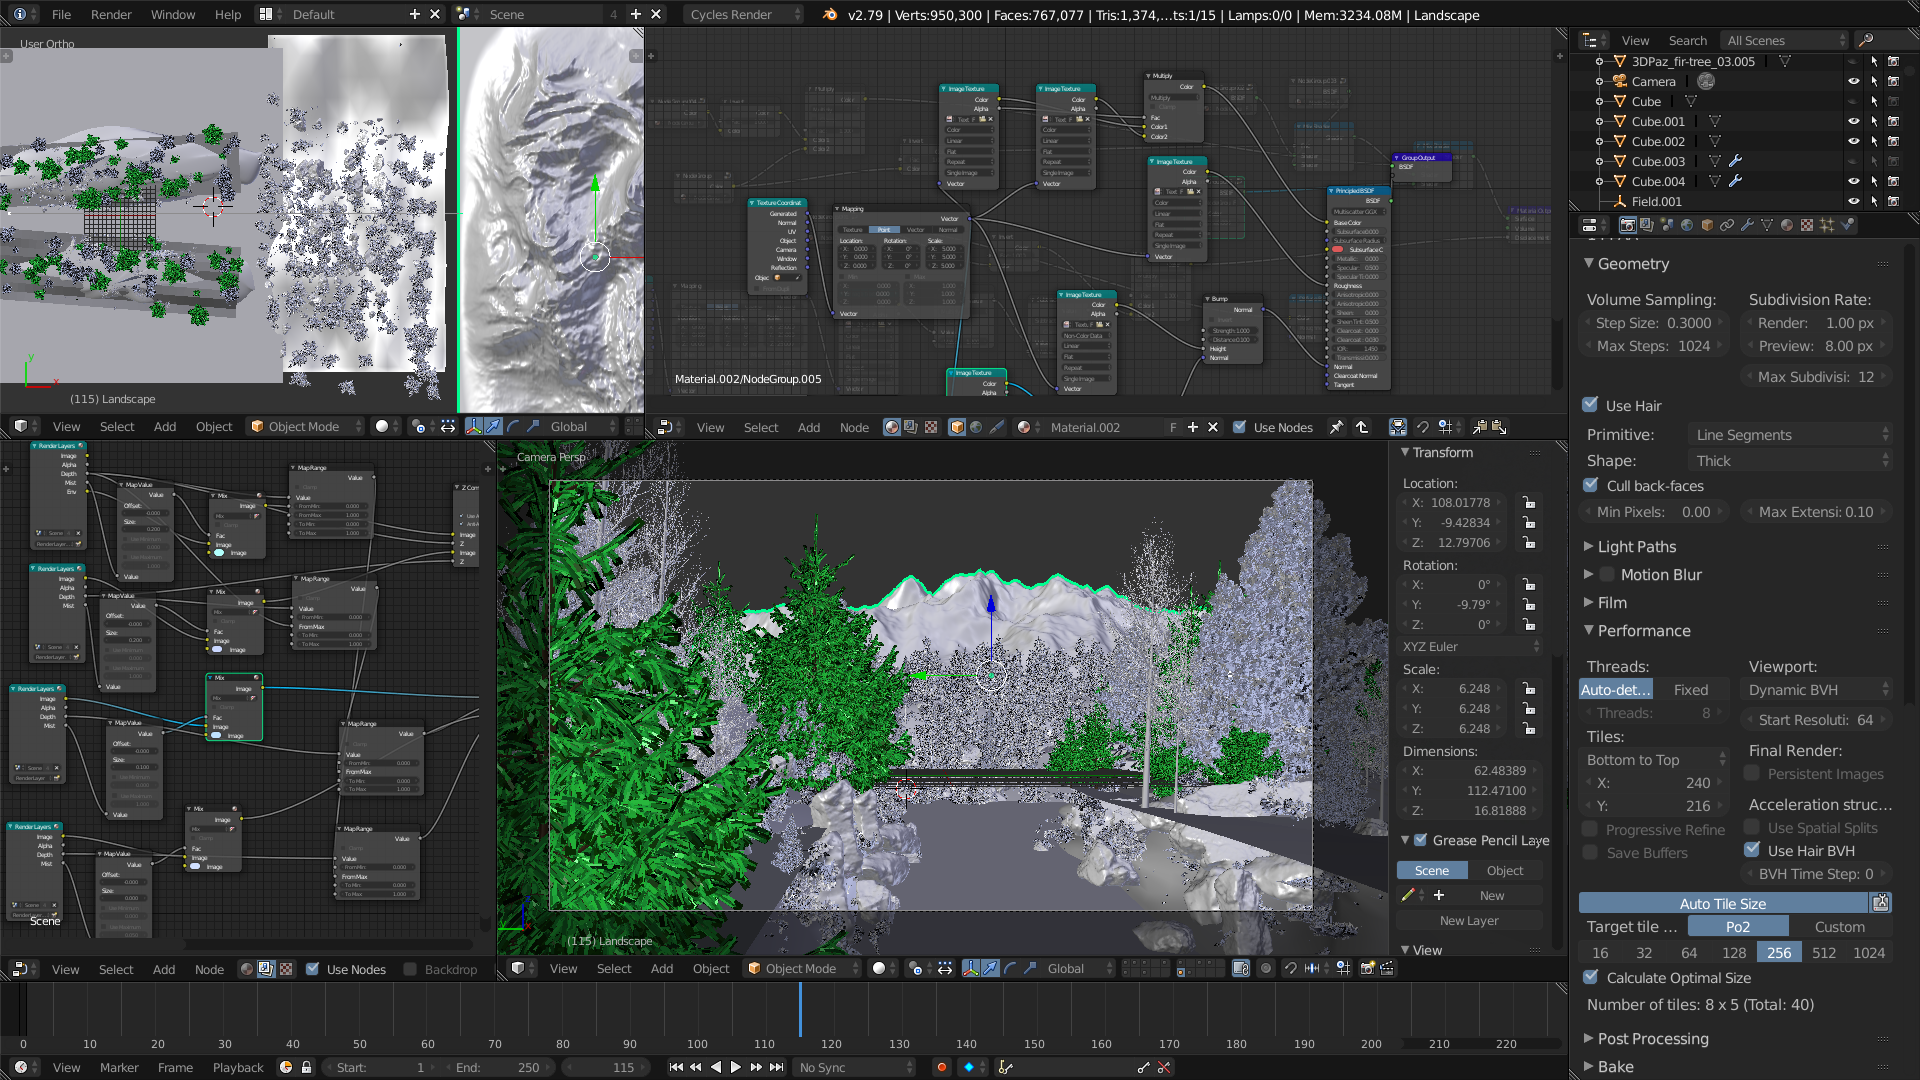
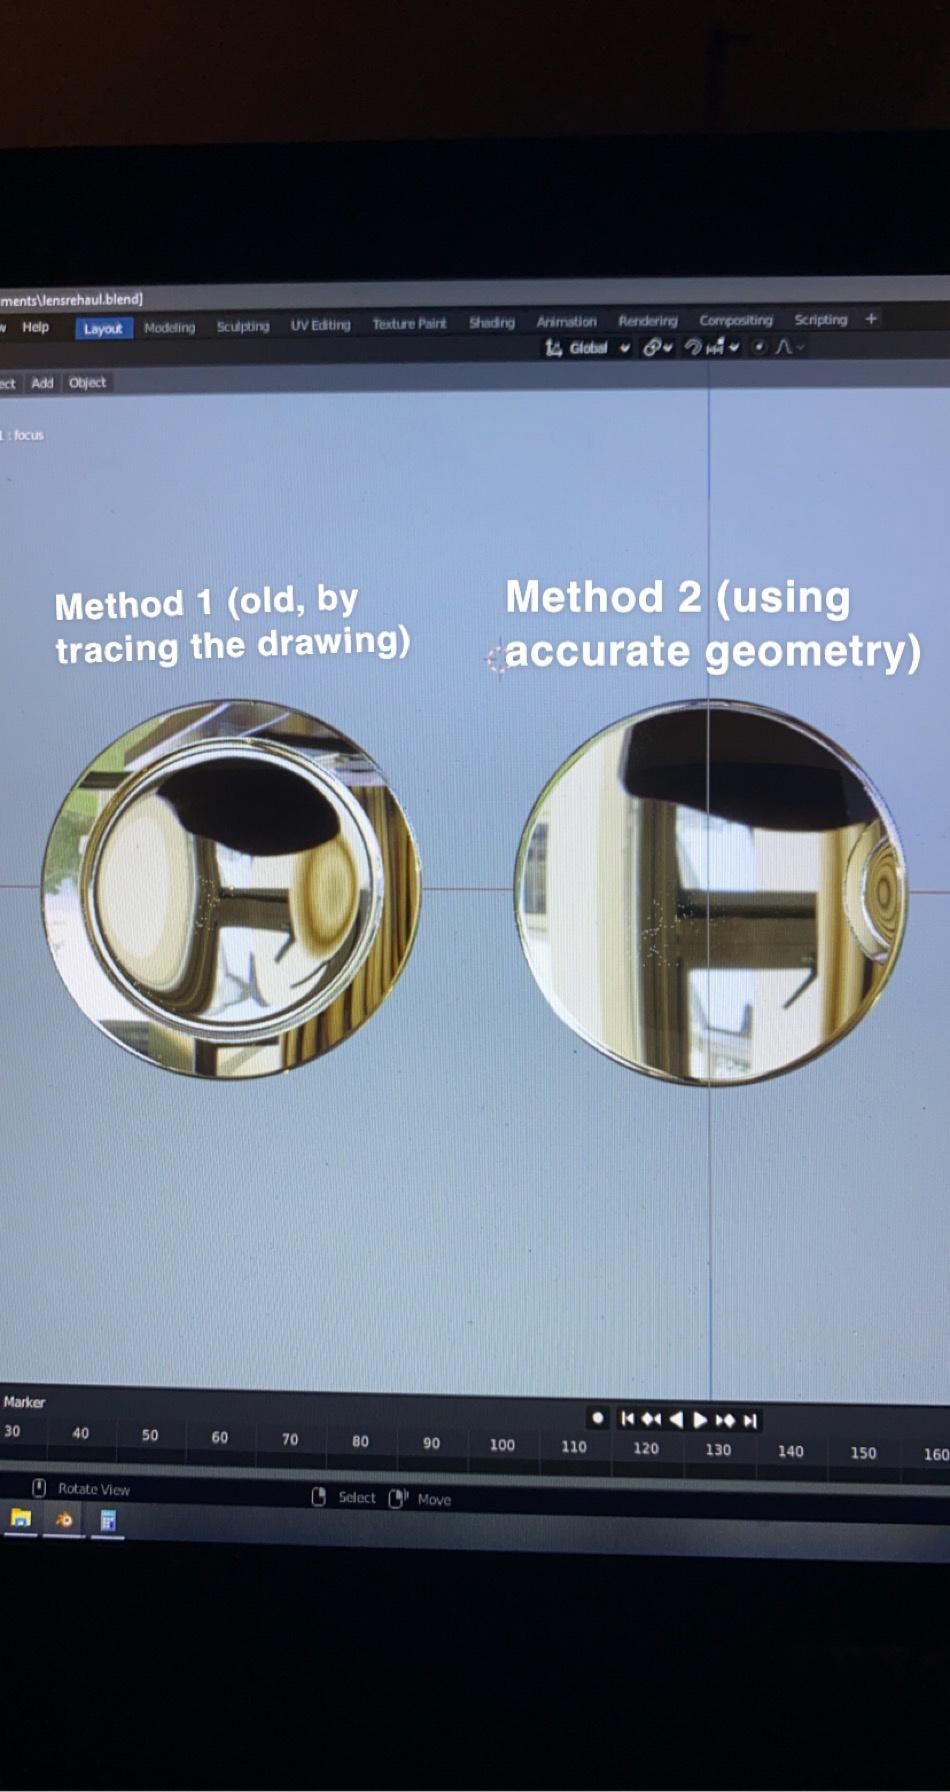
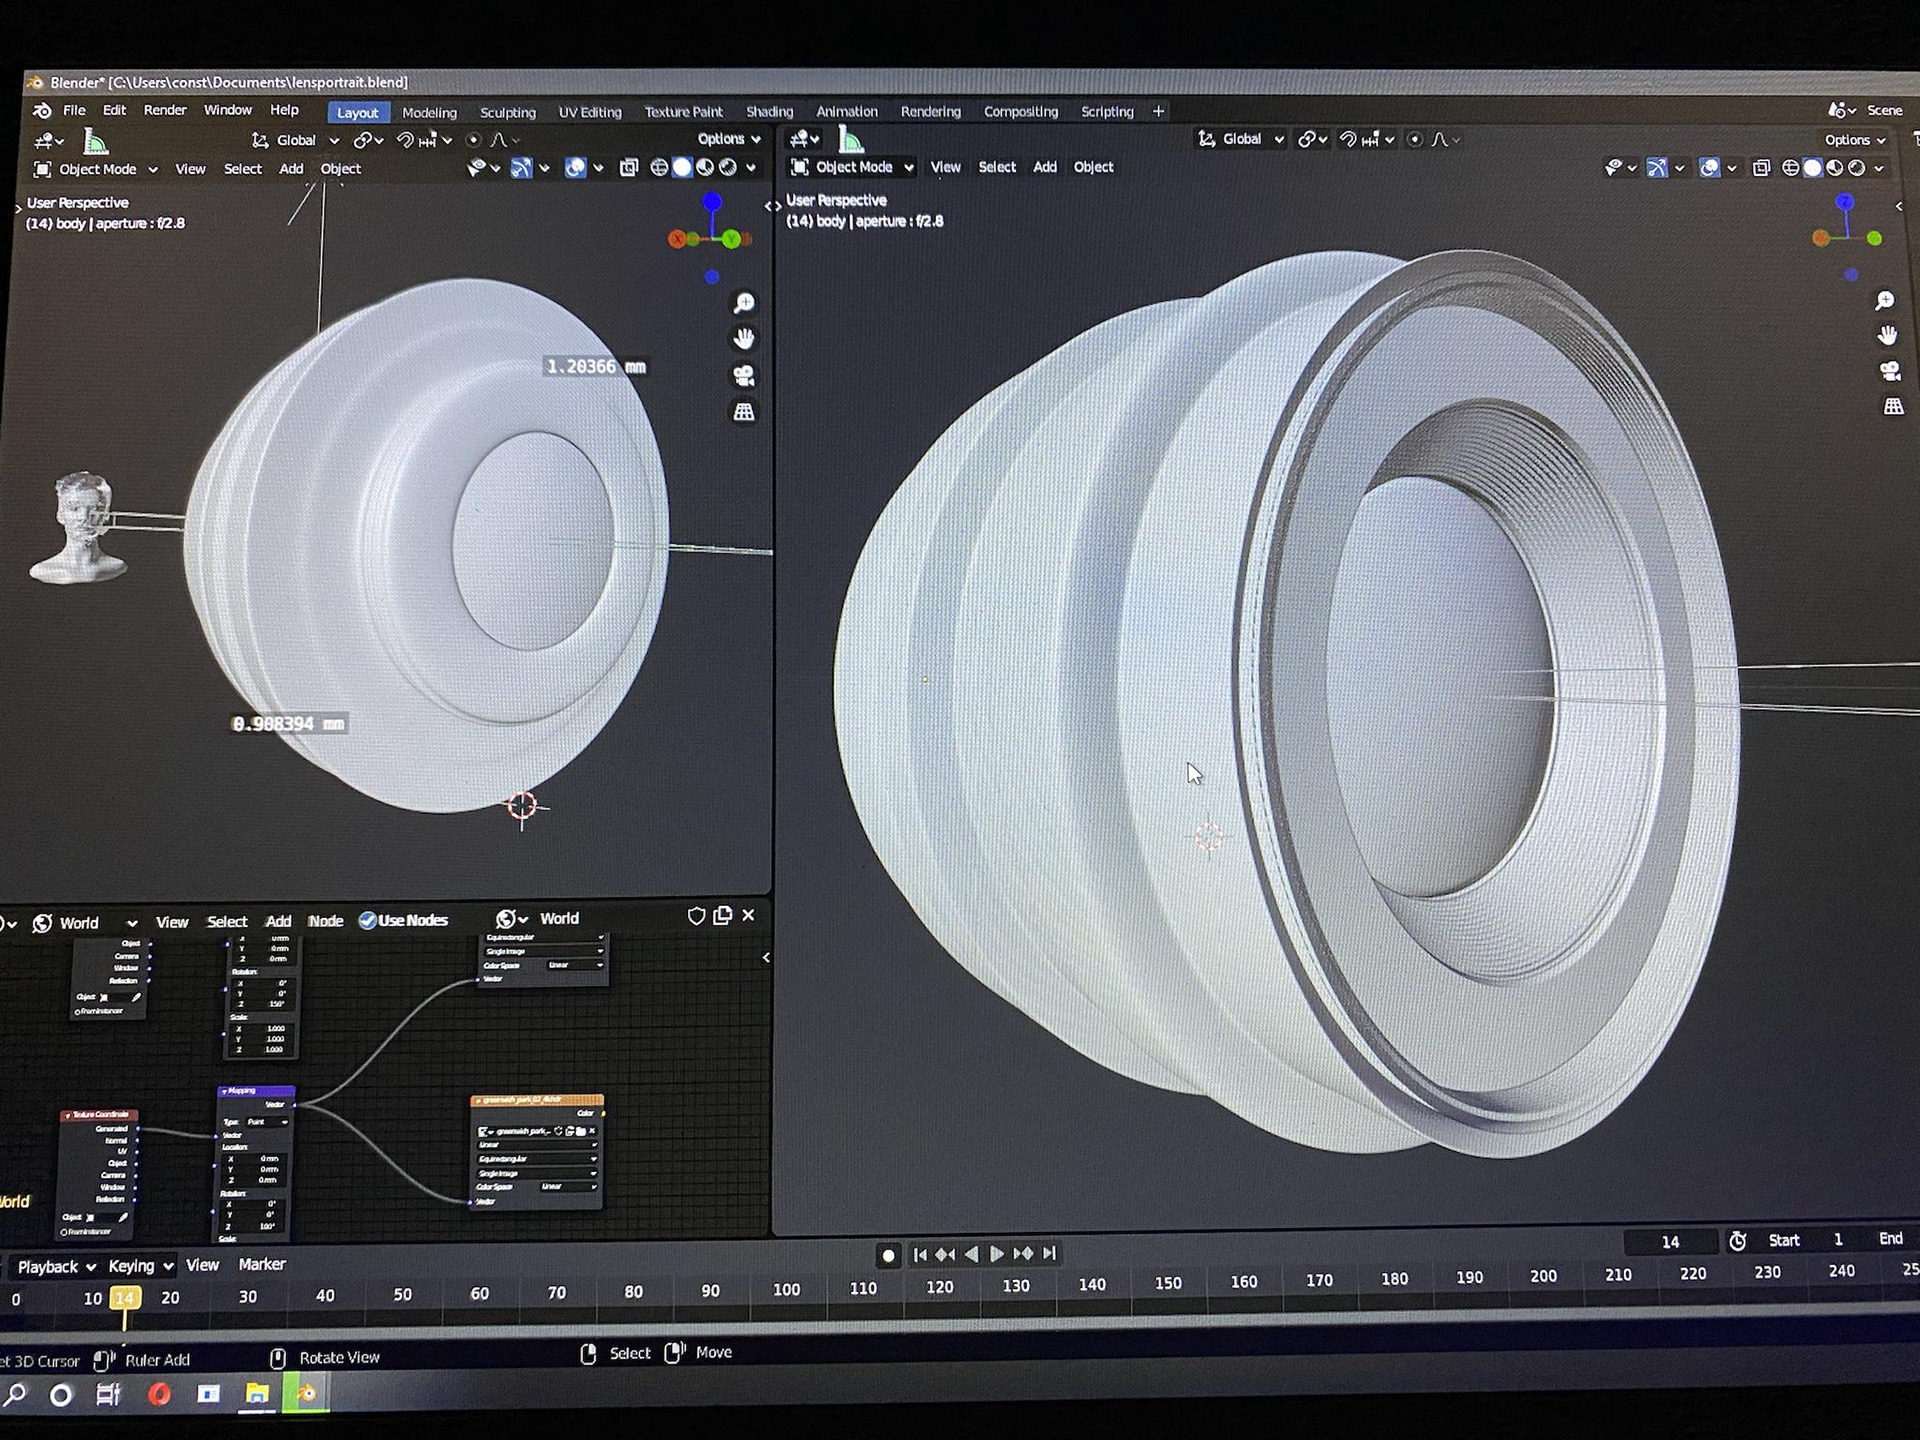
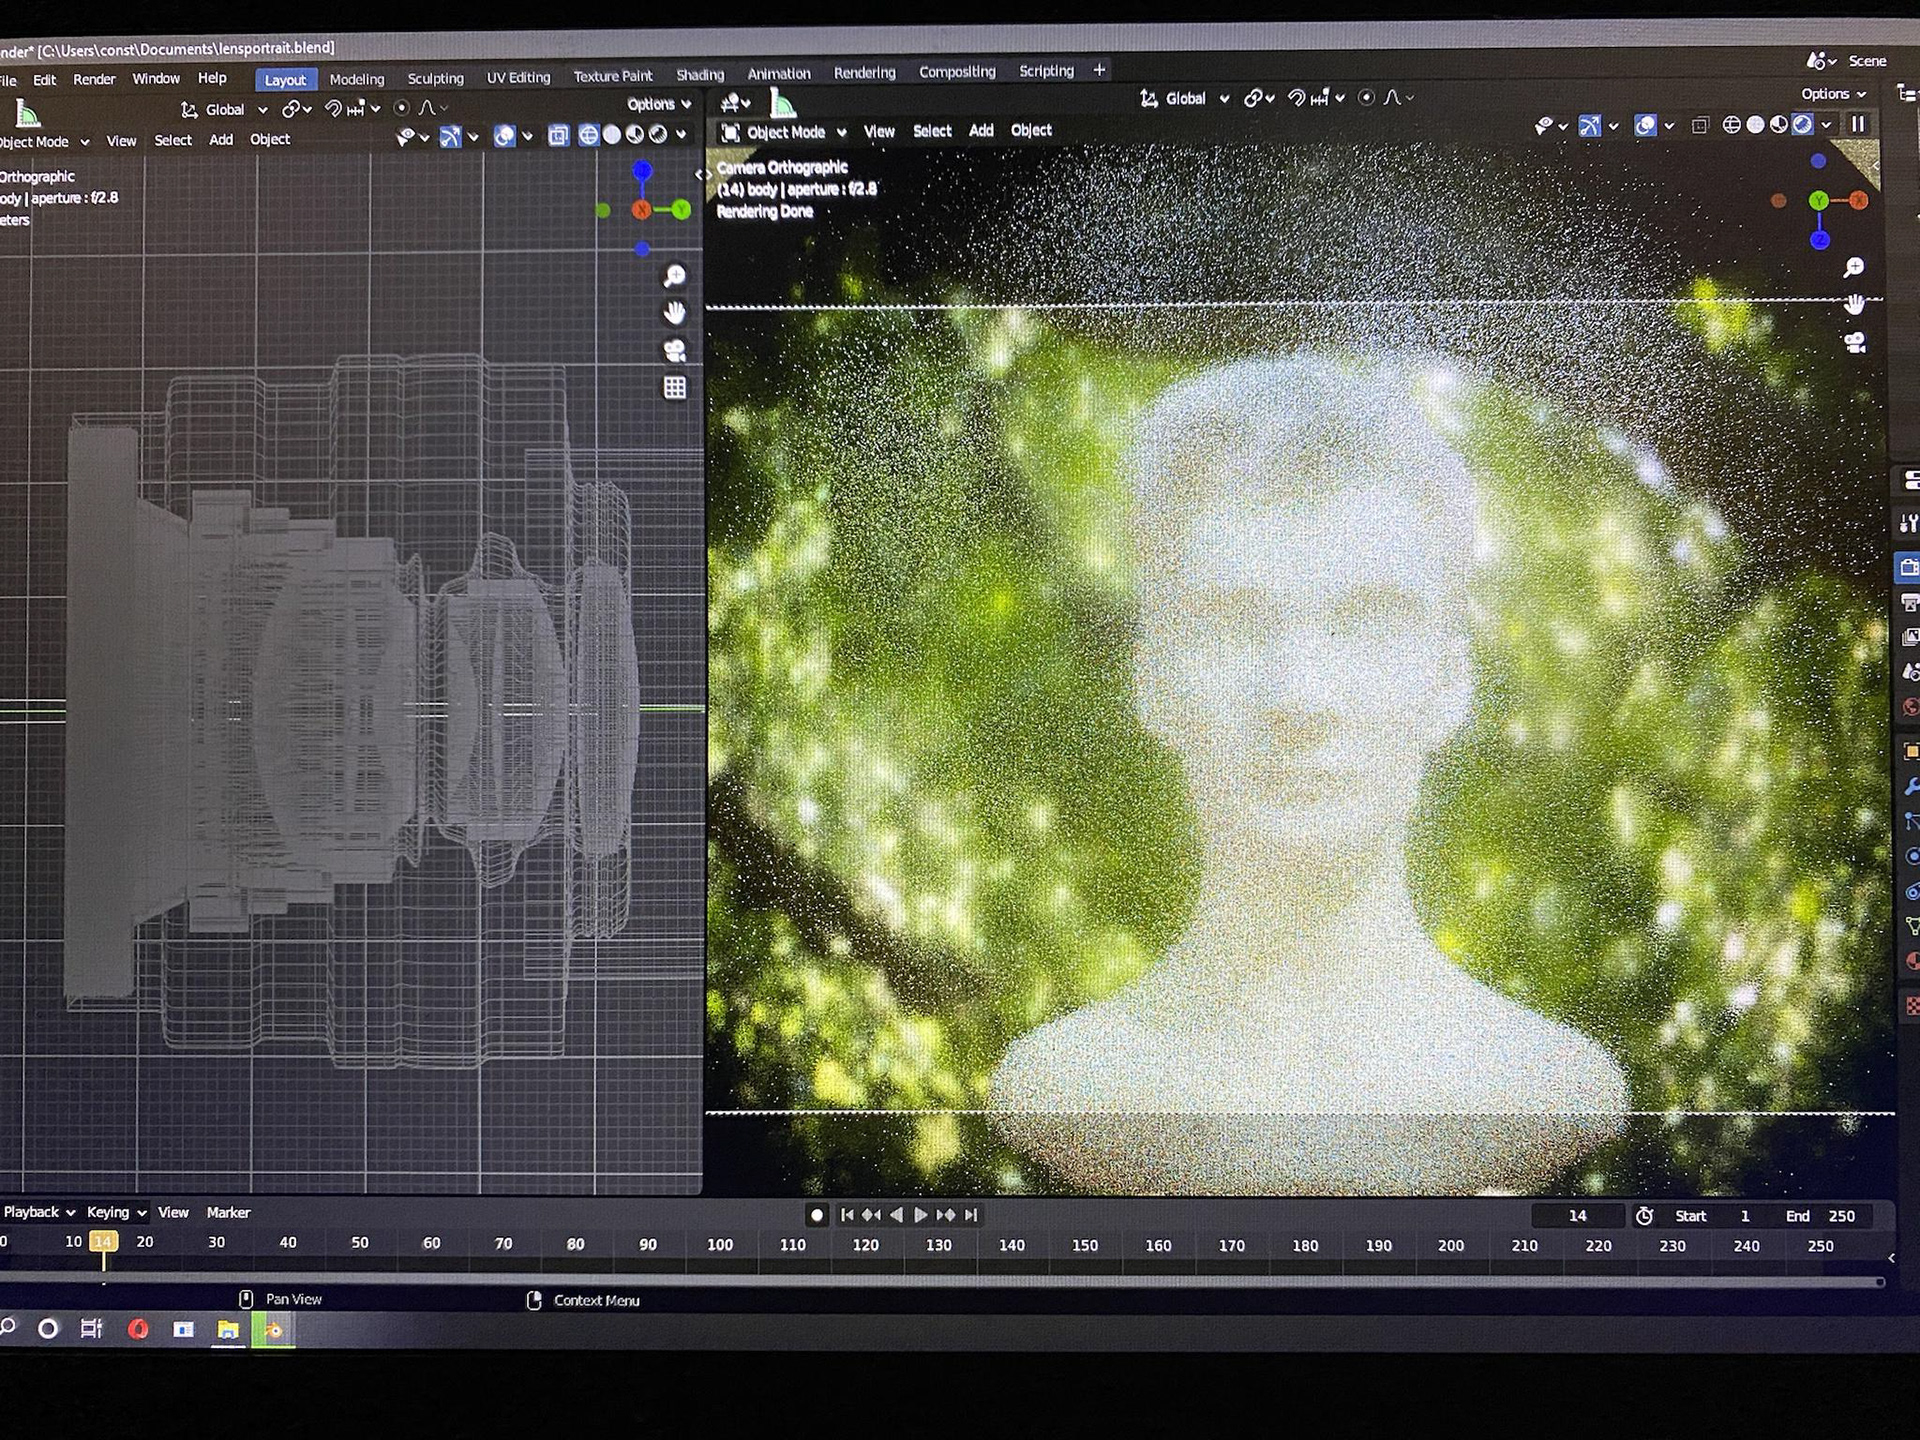
So, I wrote a plugin in python to do some of the heavy lifting. Luxcore's documentation happens to be quite sparse; my experience with python, terse (read: lacking). All I had at my disposaltips was other source code to dig through. But, at the end of the month, it was happily ever after. Except, in a shocking turn of events, I never published it to github. It's on the dodo list. Ultimately, what you're seeing here is my attempt to expedite the process of telling the render engine how fast different wavelengths of light should be passing through a given medium, interdependently. The plugin will allow you to select from an extensive list of preset values. In the case of manual control, the plugin will query for user-specified refractive indices at several given wavelengths of light, which coincide with three key Fraunhofer spectral lines. Using the manual input, the resulting Abbe number, and Cauchy's equation, the node will output the Cauchy B coefficient, which can be plugged straight into the "Dispersion," node socket for glass materials.
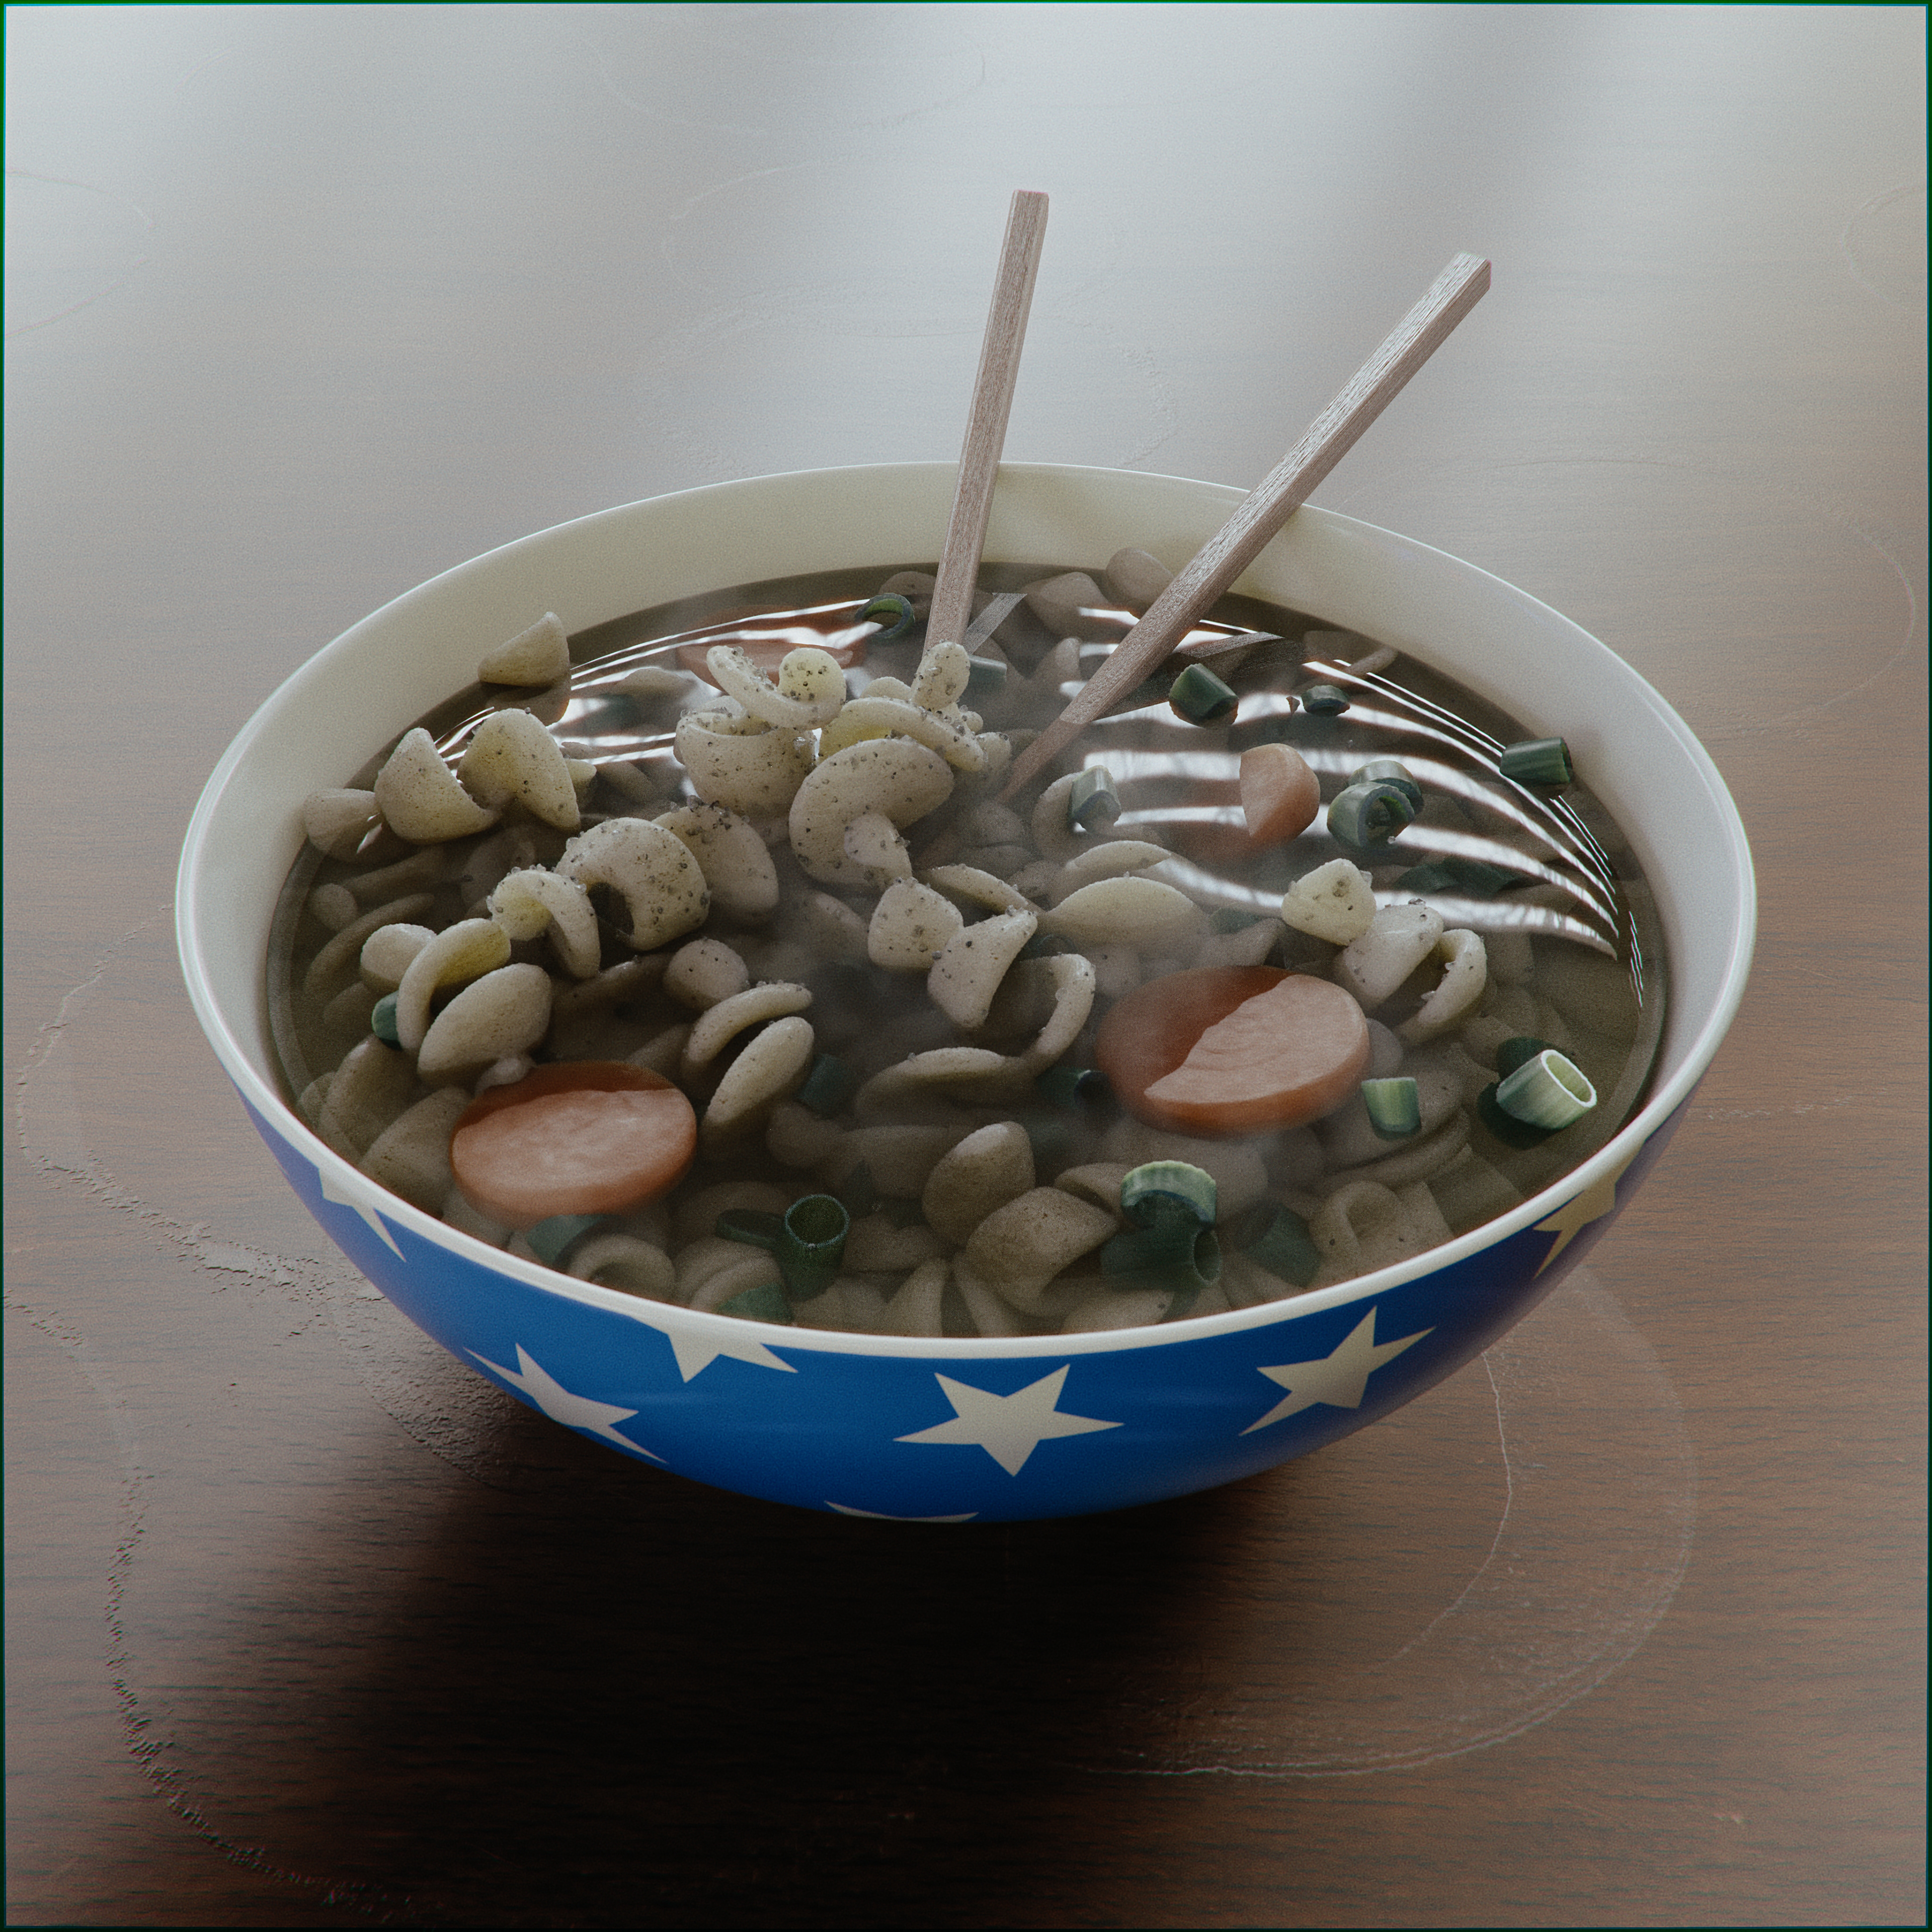
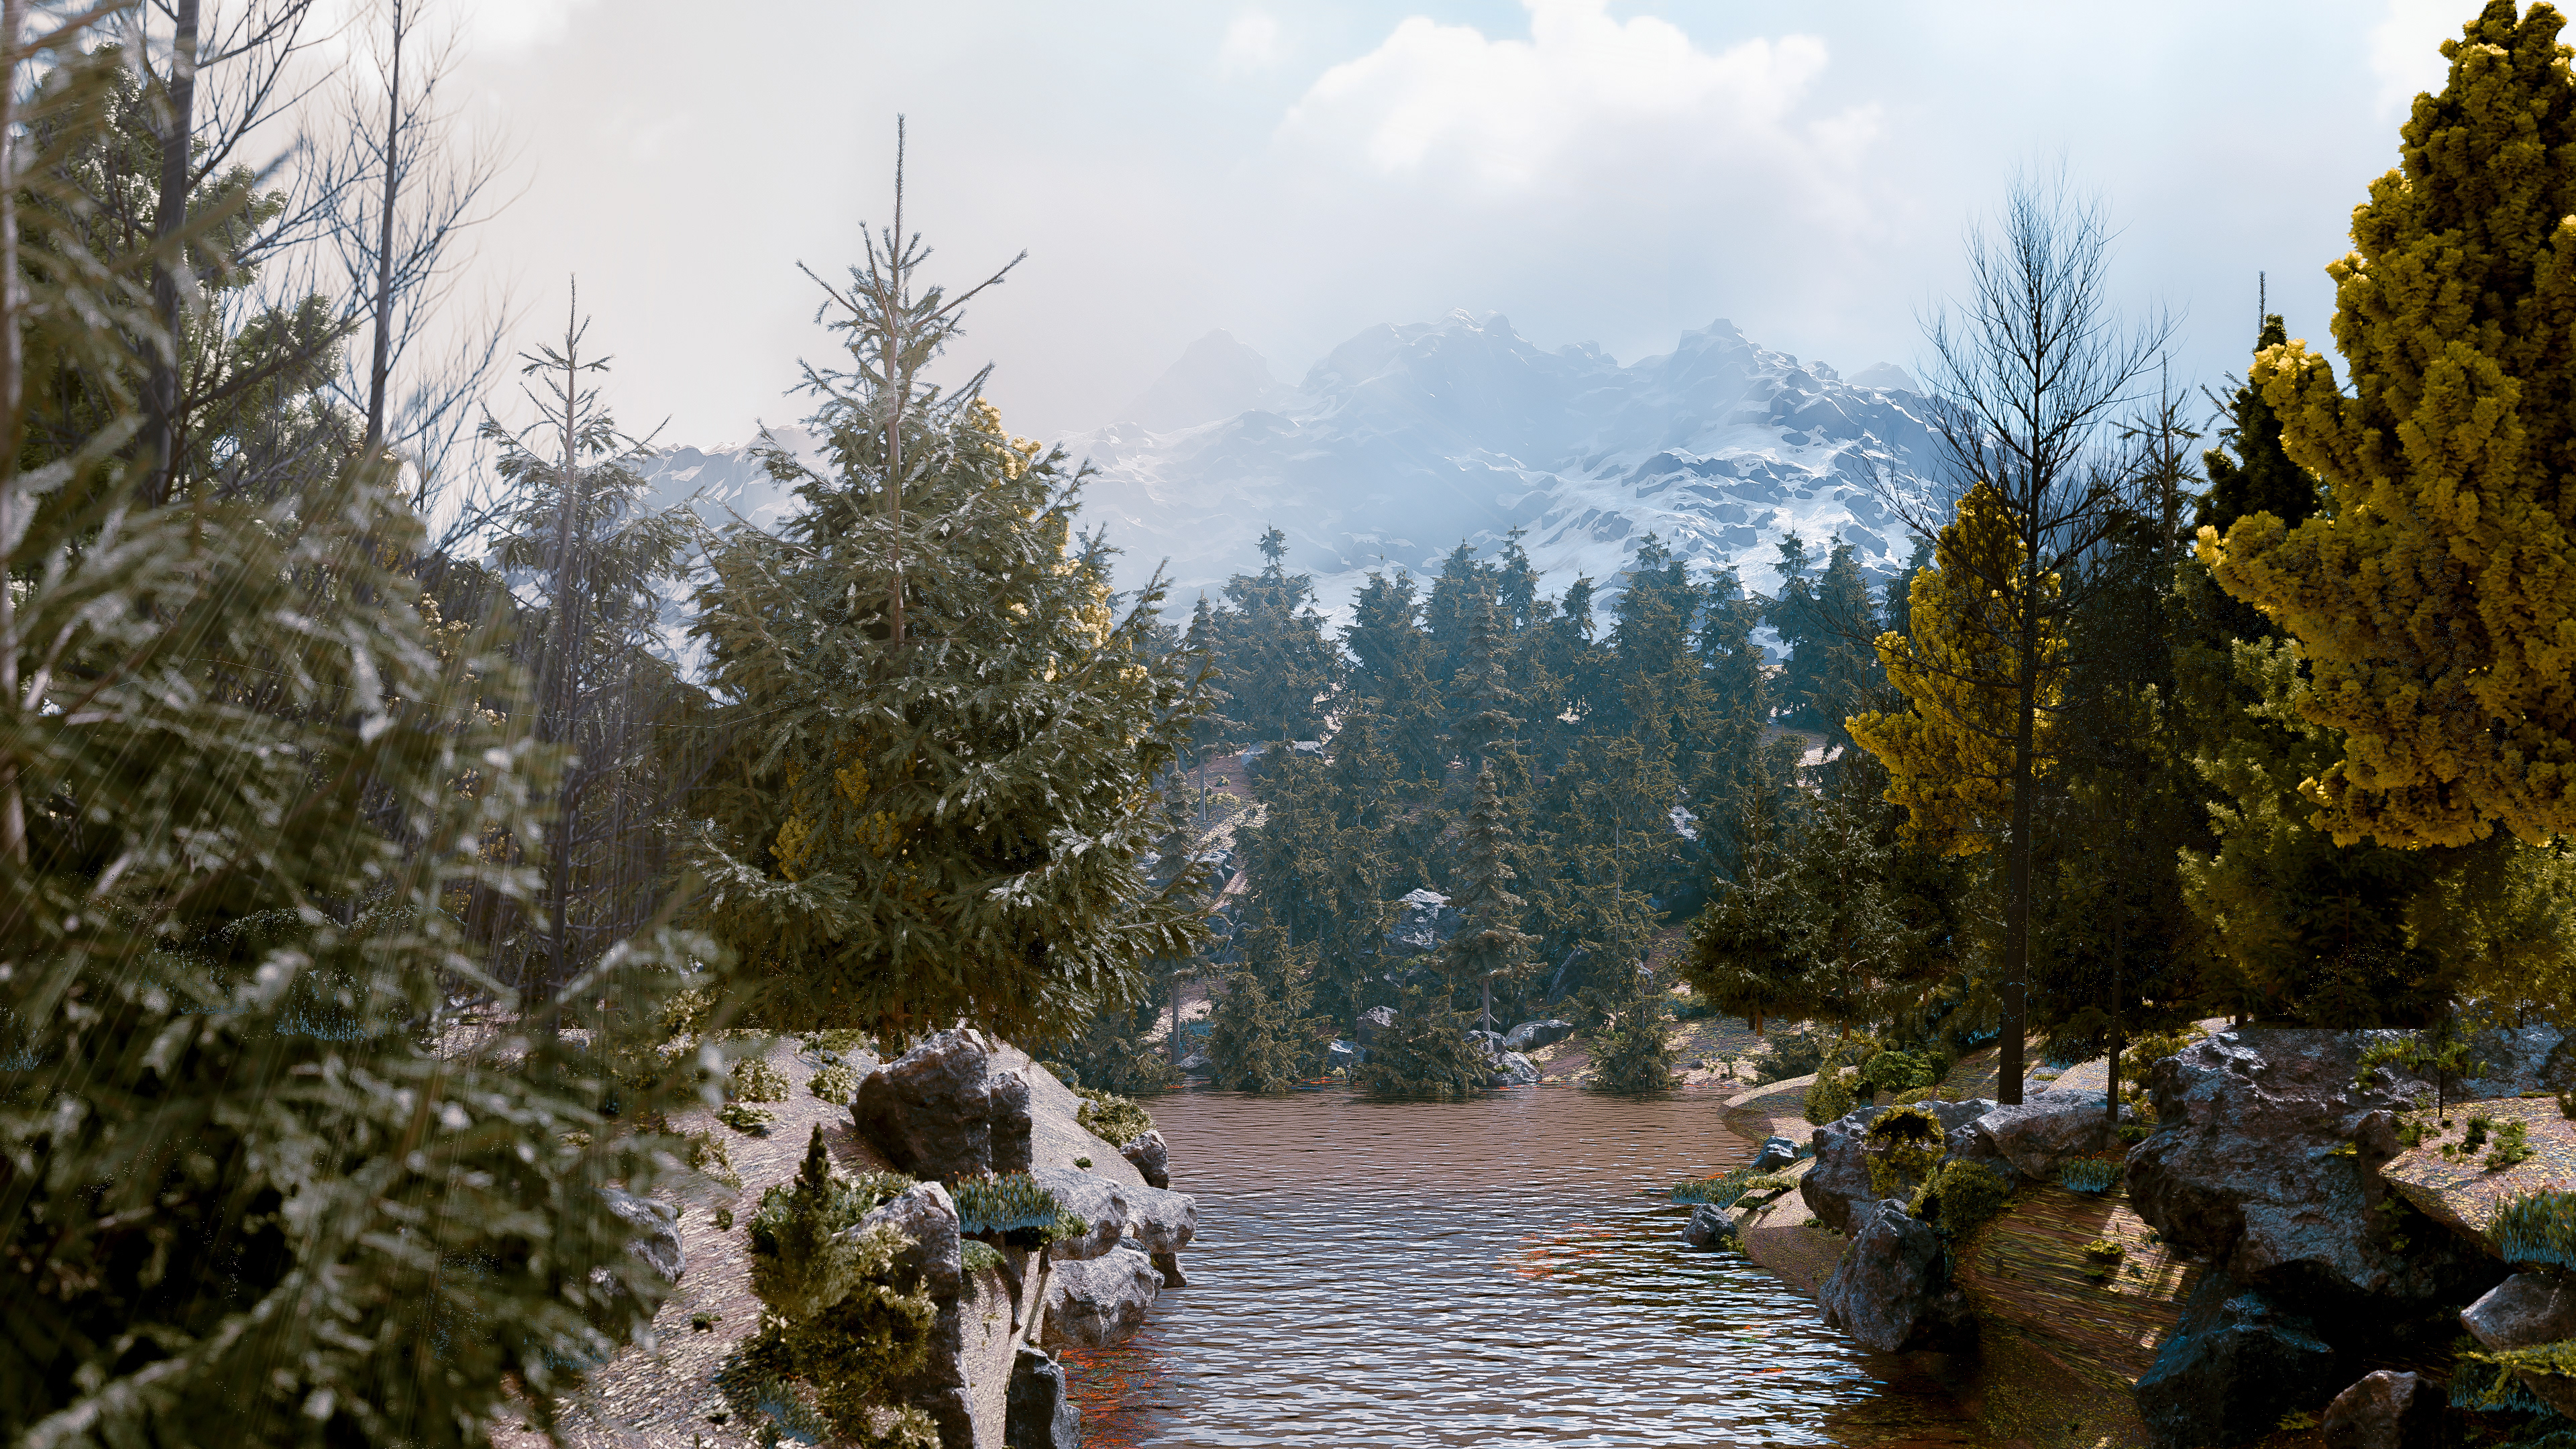
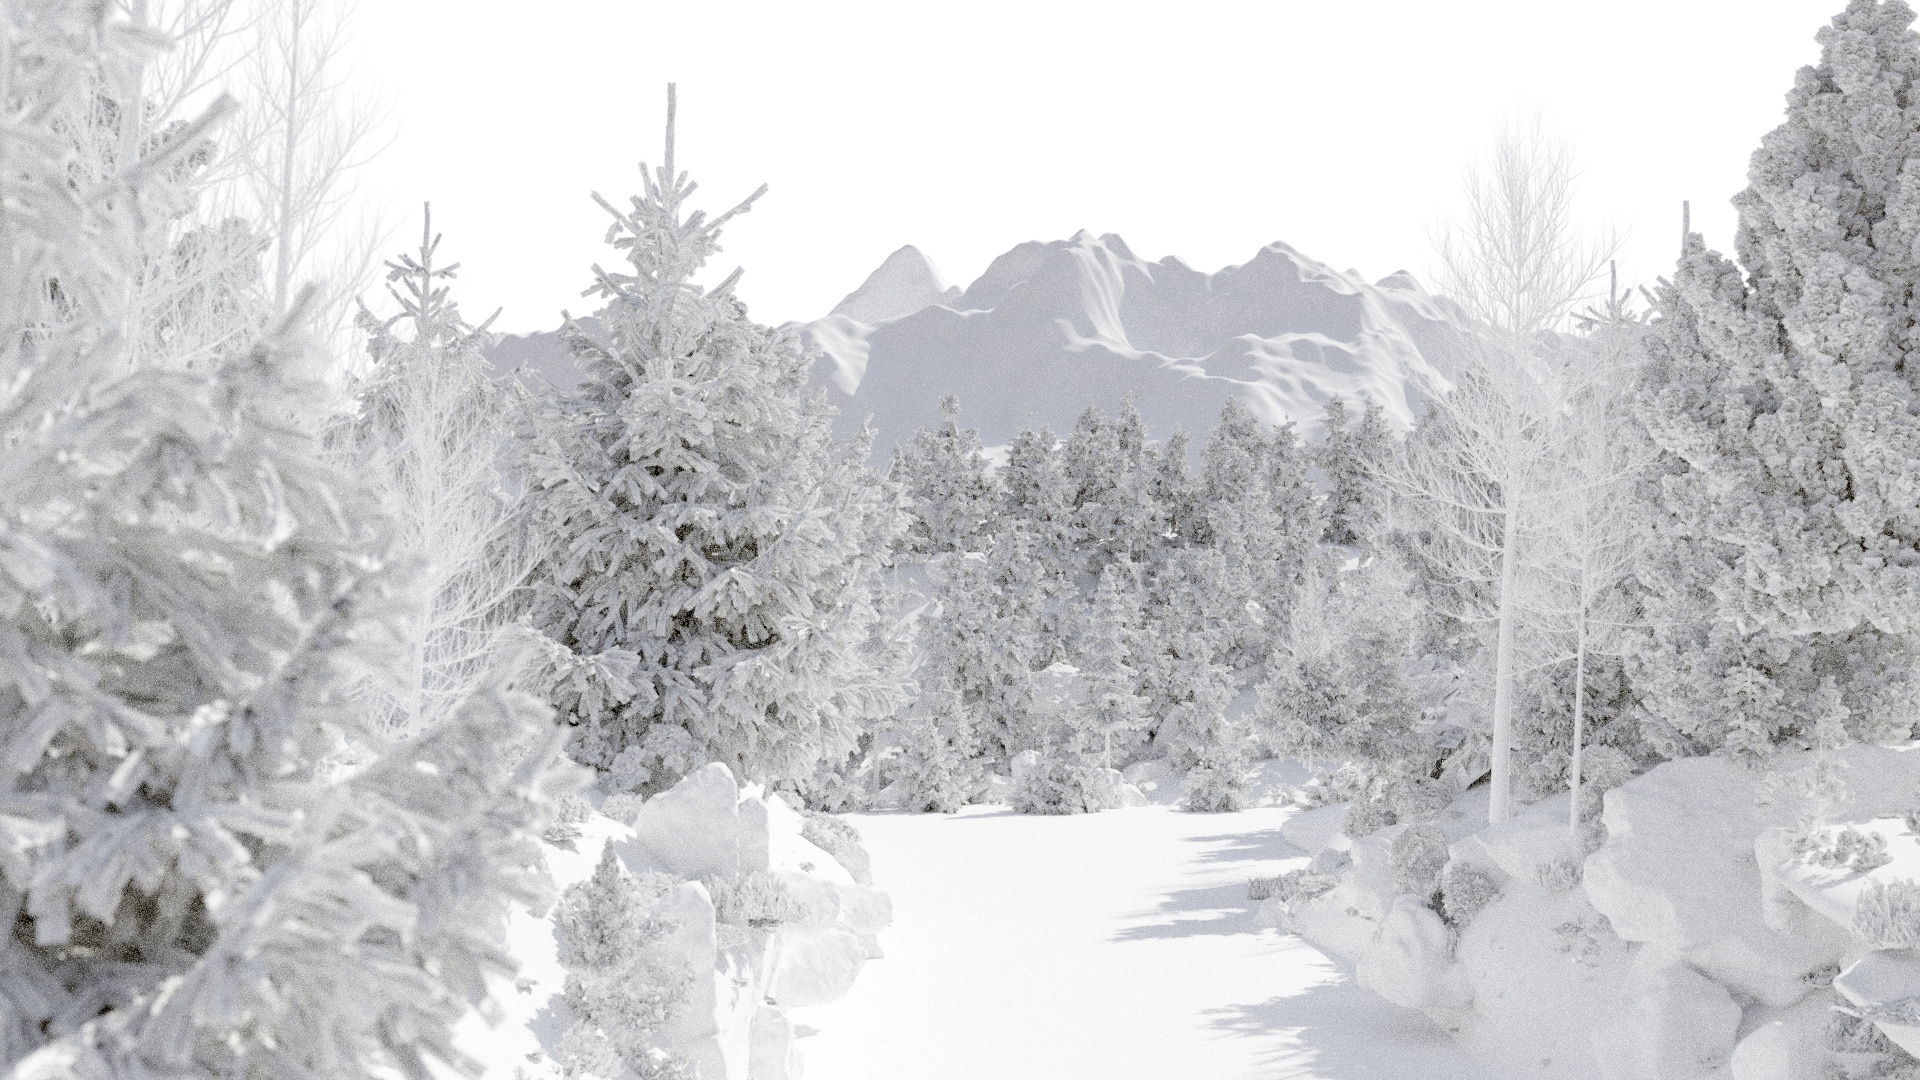
Now, onto the cooking recipe.